Currently your Data Node is based on the open sourced Nextcloud software.
Nextcloud supports a number of iOS mobile apps, however the only mandatory installation is the Nextcloud File Application. Other related iOS apps can be used, but without universal support.
Other Nextcloud Applications that will work with your Data Node are available and may be supported by individual communities but they are NOT part of the universally supported software set.
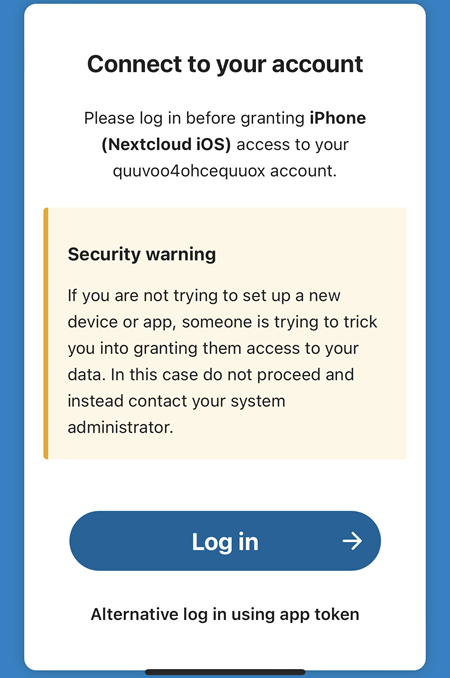
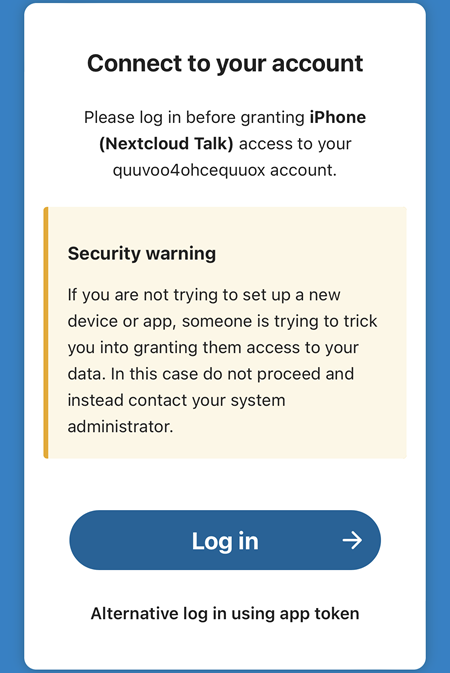
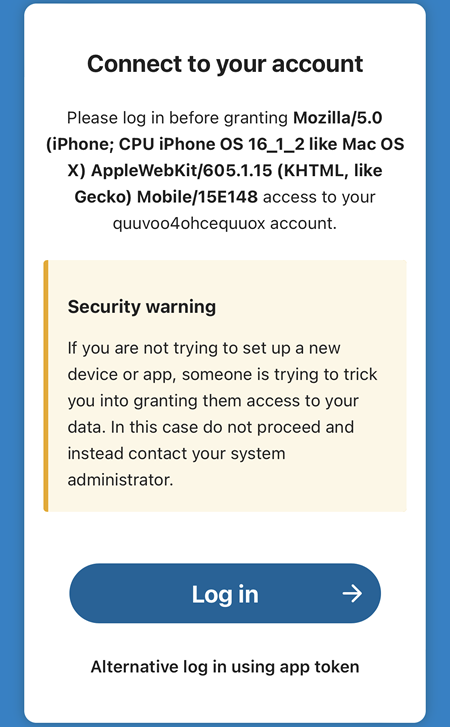
There might be a warning as shown below. Simply tap on the Log in button to continue.
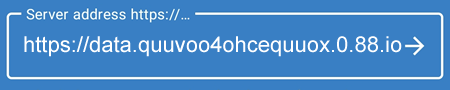
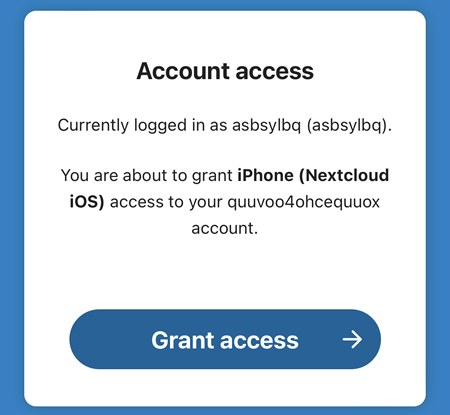
Enter the Nextcloud Username and Password, tap on the Log in button and select the Grant Access button. The Username and Password can be found on https://aunsw.88.io -> Dynamic Alias -> Alias Details -> Hub Info (the same Username and Password for https://hub.quuvoo4ohcequuox.0.88.io
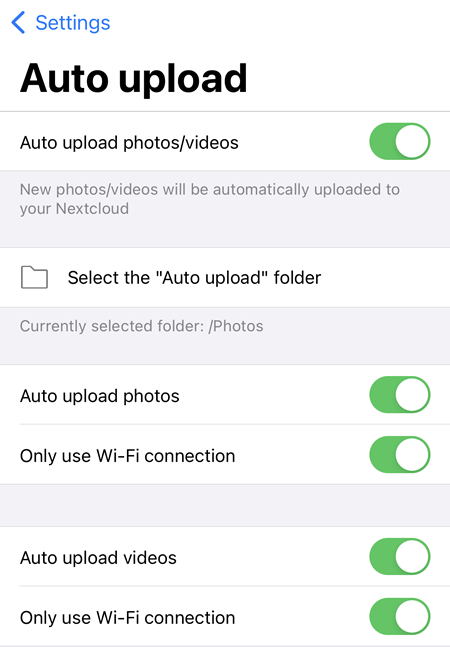
On the bottom left right corner, select the button and go to Settings.
Select Auto upload and if prompted, select Allow Access to All Photos.
Enable the Auto upload as shown below.
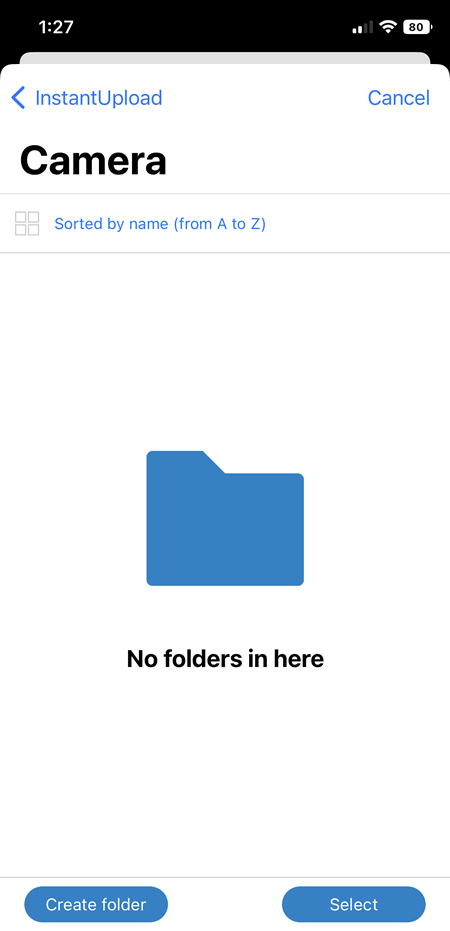
4.Tap on the Select the "auto upload" folder and browse to the folder detected to be used for automatically upload photos to Nextcloud. To use a different folder that is not detected or shown, click on the Create folder button. In the example below, the InstantUpload -> Camera folder is selected. To save the the selection, tap on the button.
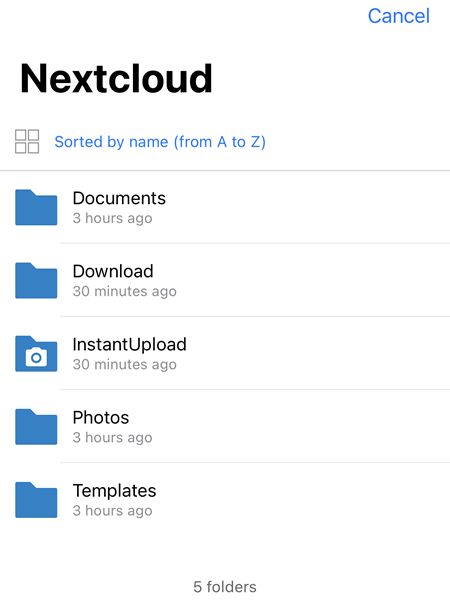
Every time a photo is taken, it will be automatically uploaded to the InstantUpload -> Camera folder on Nextcloud.
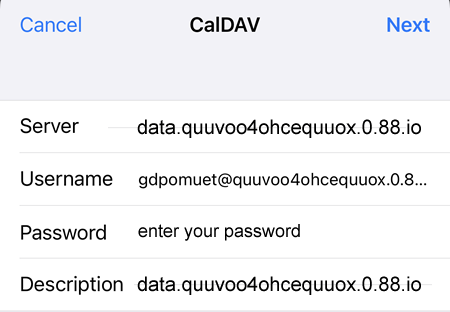
Enter the details and select the button. In the example below, the username is gdpomuet
If there is an SSL error, select Cancel and the Advance Settings menu will be displayed. Tap on it and in the Account URL field put https://file.quuvoo4ohcequuox.0.88.io
Enter the details and select the button. In the example below, the username is gdpomuet
If there is an SSL error, select Cancel and the Advance Settings menu will be displayed. Tap on it and in the Account URL field put https://file.quuvoo4ohcequuox.0.88.io
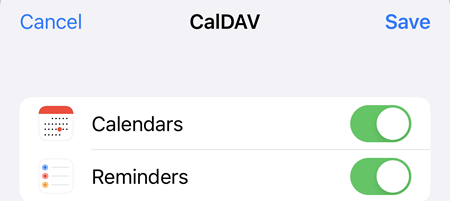
Enable Calendars and Reminders and tap on the button.
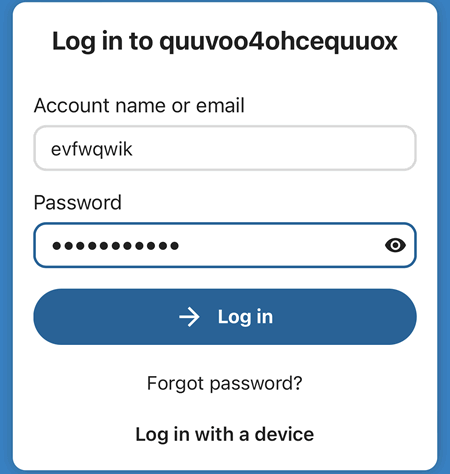
Enter the account name and password. In the example below, the account name is evfwqwik.
Grant access to the device.
Usage
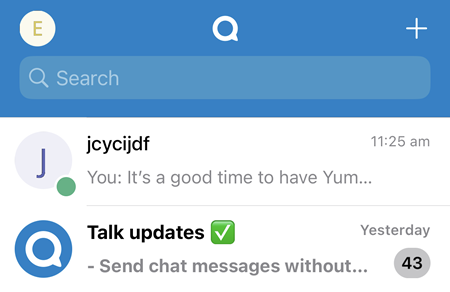
Click on the button to select the user that you want to chat or call.
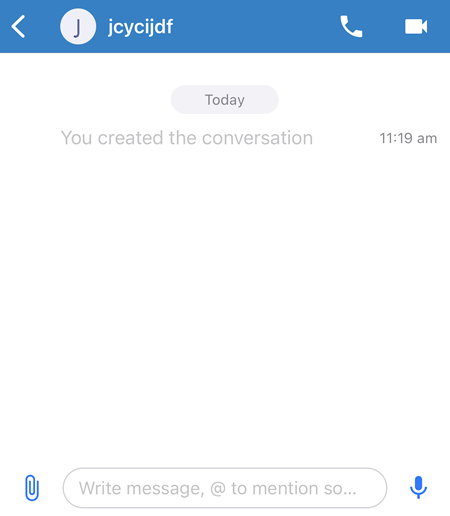
Once the user has been selected, you can send a text message, make an audio call or make a video call. In the example below, the user selected is jcycijdf.
To send a text message, type your message at the bottom of the screen. To make an audio call, select the button and to make a video call, select the button.
Once a message or a call has been made, it will be shown in the chat history.
Please note:
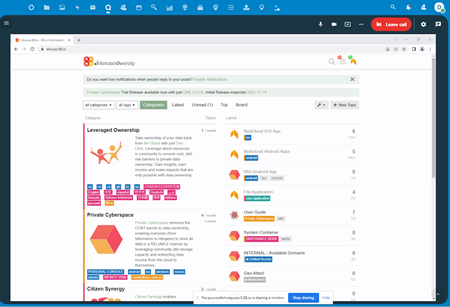
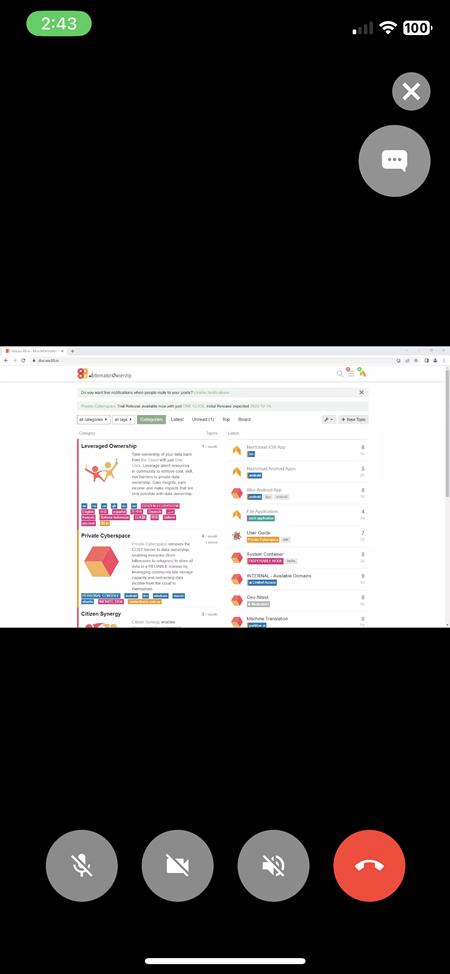
The Screen Sharing feature can only be initiated from Windows devices as shown in the image below.
Enter the account name and password. In the example below, the account name is evfwqwik.
Grant access to the device.
Usage
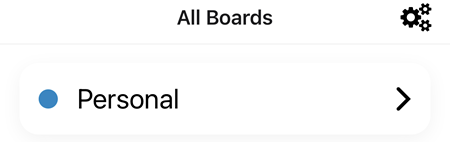
If prompted, allow Nextcloud Deck permission request. If successfully logged in, the image below will be displayed.
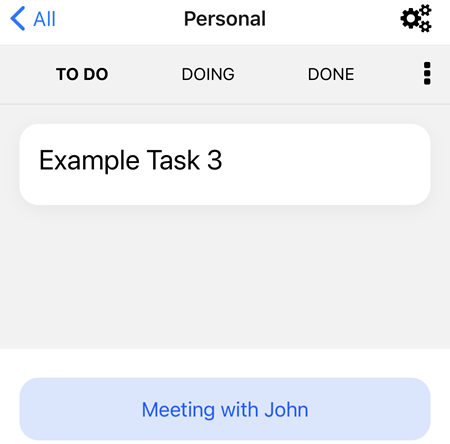
To add a new card, click on Personal then the button and enter the Title name. In the example below, the title is "Meeting with John". Click on the button to continue.
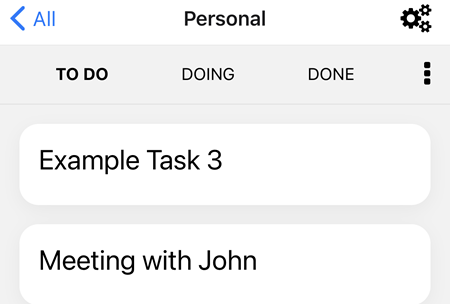
Once saved, the card will be shown on the page. By clicking on the card name, e.g: Meeting with John, the user will be able to add more details such as the Due Date, Description, Comment etc.