Introduction
Image sensors are so cheap now, they can be deployed in extremely large number at ultra low costs. Increasing your data gathering capability substantially, providing you with greater insight, improved security, extra income etc.
With your own Private Cyberspace you can even use your Camera Stations to monitor yourself to answer previously difficult questions with absolute privacy:
- When were the last TEN times you have wore that dress ? (the camera can be OUTSIDE your home).
- When were the last TEN time you have visited the toilet ? (the camera is OUTSIDE the toilet door)
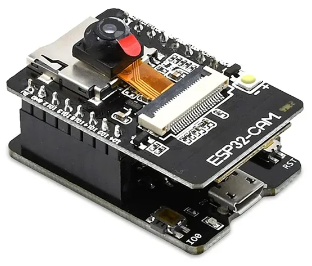
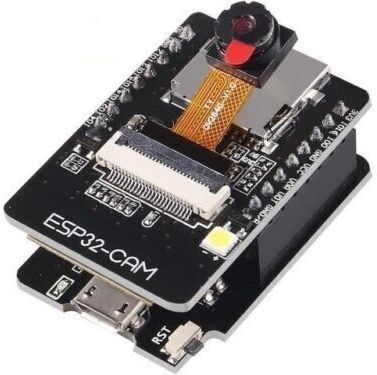
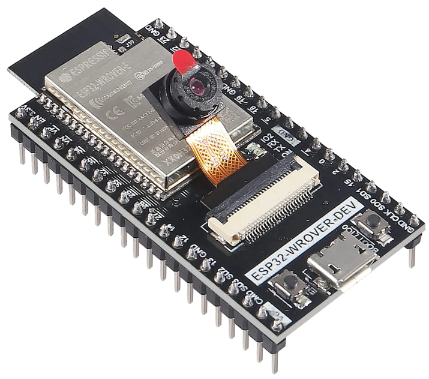
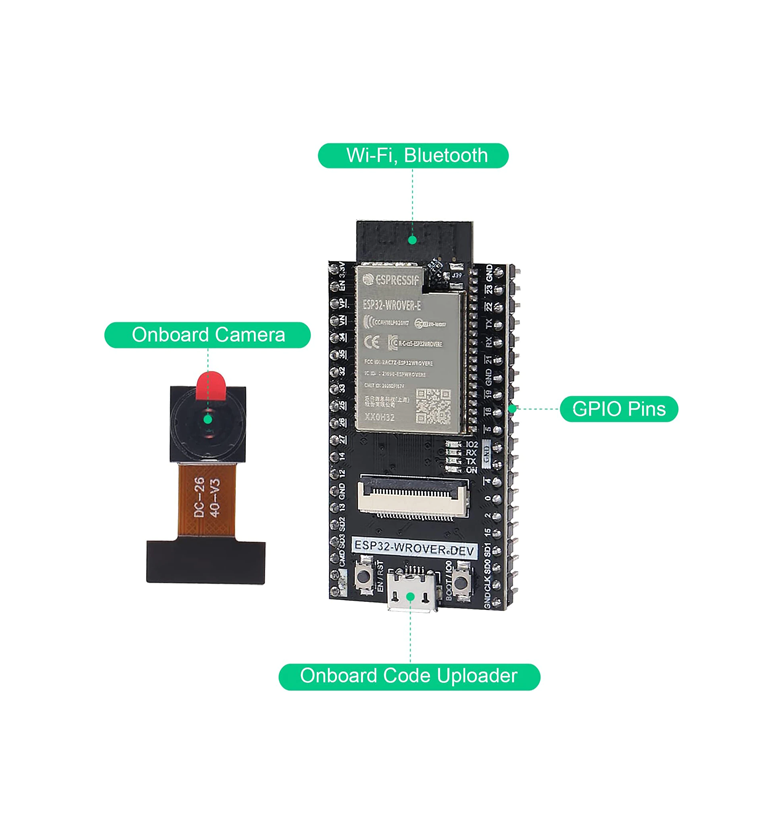
Camera Station 2023.1 comes with a OV2640 base camera onboard, to give your Private Cyberspace "eyes" at ultra low cost.

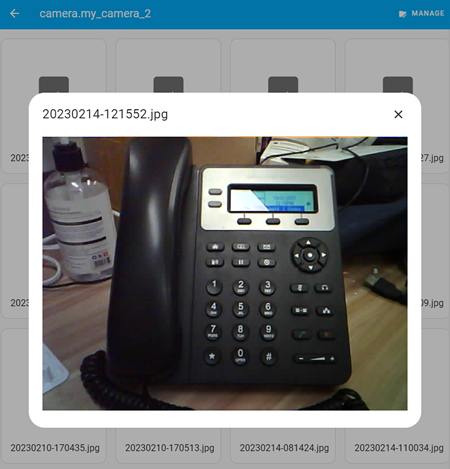
Activity Marker
You can (should) use your Camera Station as an Activity Marker, the recommended position is plugged into wall power socket, placed under a window with the camera facing the entrance (door).
Camera Firmware
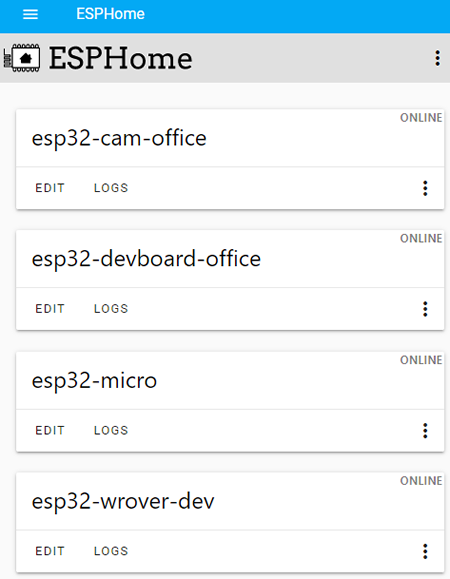
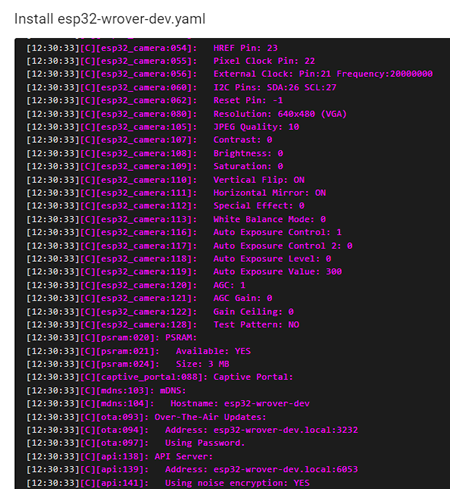
The recommended firmware is esphome, but we have also listed others we have tested.
esphome
- ESP32 Cam / ESP Home / Frigate - Configuration - Home Assistant Community
- RTSP on ESP32-CAM wih ESPHome - ESPHome - Home Assistant Community
esp32cam-rtsp
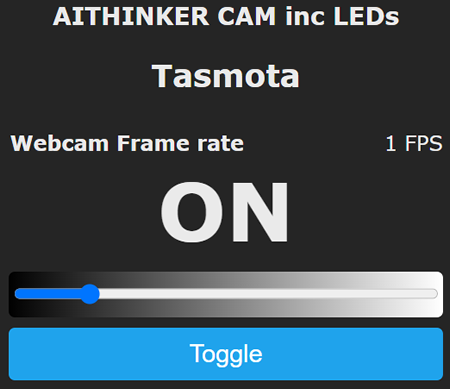
tasmota
- Ai-Thinker Camera (ESP32-CAM) Configuration for Tasmota
- Tasmota webcam server for the ESP32-cam - CGomesu
arduino ide
Test Camera Stations include:
PCCC1 - AU$21 - with headers, usb cable.
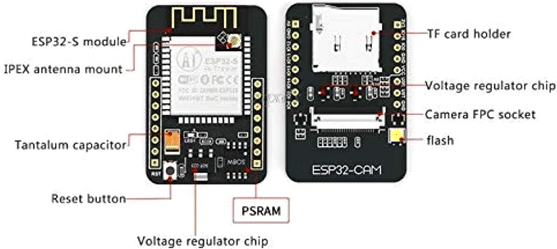
PCCC2 - AU$17 - with flash light, tf card slot.
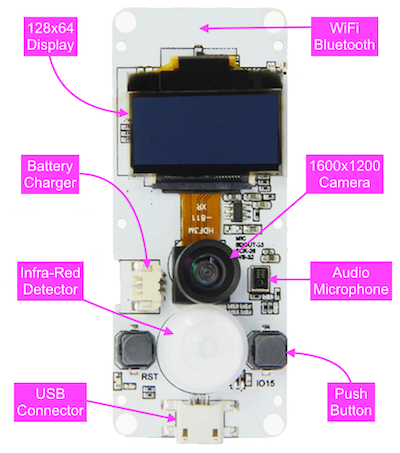
PCCC3 - AU$39 - with battery charger, microphone, infra-red detector, oled display.
Prices quoted as of 2023-05-22 including tax and transport.
Camera
The cheapest is the OV2640 sensor.
OV2640 Sensor
| OV2640 | 2 MP Image sensor |
|---|---|
| Array Size | 1600 x 1200 (UXGA) |
| Power Supply | Core: 1.3V DC ± 5%, Analog: 2.5~3.0V DC, I/O: 1.7V to 3.3V |
| Power Consumption | YUV 125mW, Compressed 140mW, Standby 600μA |
| Image Sensor Format | Type 1/4″ |
| Maximum Image Transfer Rate | 1600×1200@15fps, SVGA@30fps, CIF@60fps |
| Sensitivity | 0.6V/Lux-sec |
| S/N ratio | 40dB |
| Dynamic Range | 50dB |
| Pixel Size | 2.2 x 2.2 μm |
| Dark Current | 15mV/s at 60°C |
| Well Capacity | 1.2Ke |
| Fixed Patter Noise | <1% of VPEAK-TO-PEAK |
| Image Area | 3590 x 2684 μm |
| Package Dimensions | 5725 x 6285 μm |
| Resolution | UXGA SVGA and below |
| Output Format | YUV/RGB/Raw RGB Data |
| Shutter Type | Rolling Shutter |
| Color Filter Array | RGB Bayer Array |
| ISP Functions | AE, AWB, Sharpness, Noise Reduction, Defect Reduction, Gamma, Color Saturation, Special Effects |
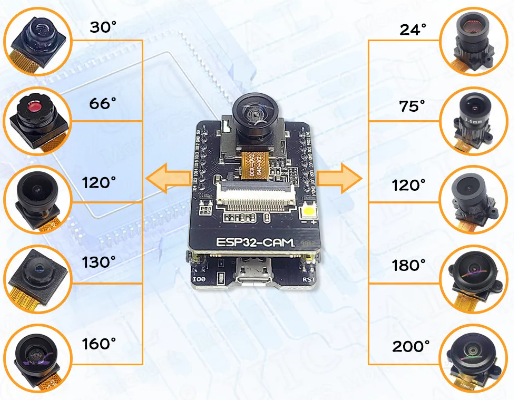
Lens
Personal Console Controller Camera (PCCC) can use numerous different camera modules
- with viewing angles from 30 degrees to 222 degrees
- with infrared filters 650nm or 850nm
- with different cable lengths 21mm to 75mm

Note esp32 based PCCs used the Digital Video Port (DVP) standard while the raspberry pi based PCCs uses the Mobile Industry Processor Interface (MIPI). Luckily most camera modules supports BOTH out of the box :)
OV2640 - resolution 1600 × 1200
OV5640 - resolution 2592 x 1944
2. Many Extra Options
We have listed some controller cameras here as reference implementations below, but there are MANY different models available from MANY different manufacturers. For example, below are just some models from one range (T-Camera) from one manufacturer (LILYGO):
- with Front Normal camera - AU$34
- with Front Fish Eye camera - AU$40
- with Rear Normal camera - AU$35
- with Rear Fish Eye camera - AU$40
- with Rear Normal Movement camera - AU$49
- with Rear Fish Eye Movement camera - AU$49
"Movement" above means it has a MPU-6050 module with 3 Axis Gyroscope + Accelerometer
Prices quoted as of 2023-05-22 including tax and transport.
