Mesh Station 23.2

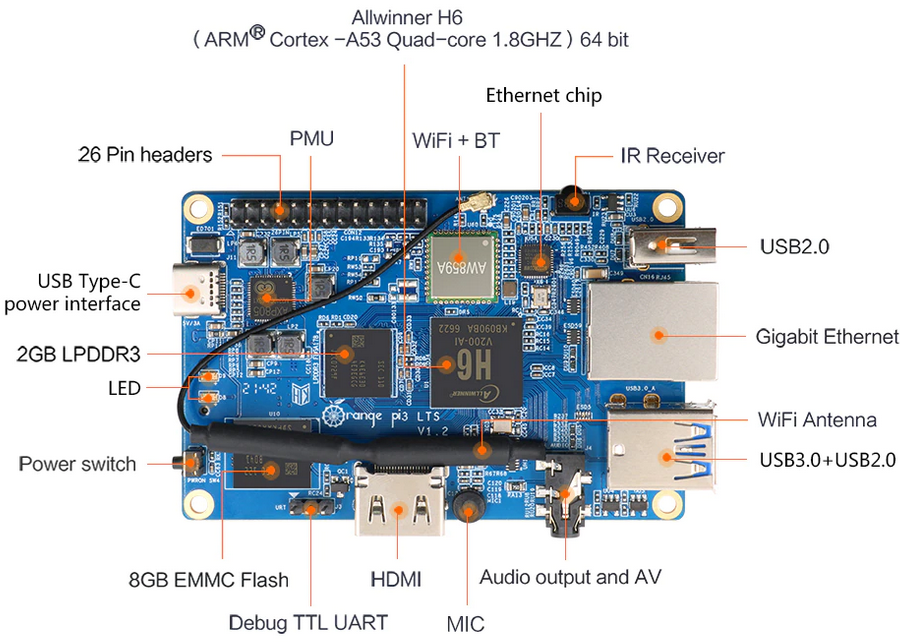
ARM Process Stations

Process Stations based on 64-bit ARM architecture provide reasonable compute power with very low power consumption at reasonable costs.

1. Secured Boot-Up

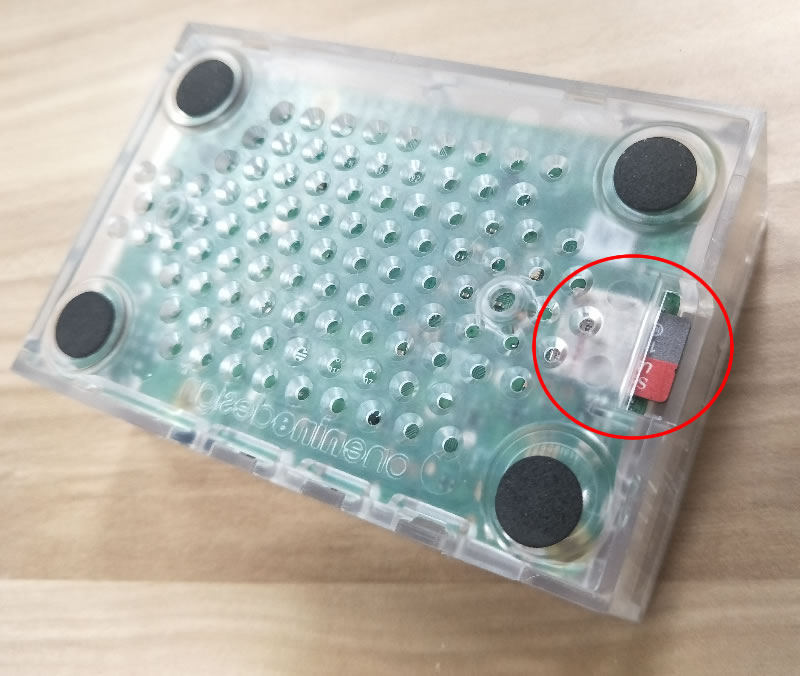
All Process Station storages are protected with encryption, to boot-up it needs to be decrypted by getting a password from remote Boot-up Servers. There can be up to 10 remote boot-up servers backing each other up, but only 1 is needed for boot-up.

Remote boot-up servers can be anywhere, from the homes of friends to commercial data centres to inside a locked cupboard in the same room as the compute station. Only one need to be online when the compute station it is serving needs to be booted up.

If the Compute Station is robbed or stolen, the remote boot-up server can be used to deny it from booting up until it has been recovered.

2. Multicast DNS

Compute Station supports station name based Multicast mDNS so its resources can be accessed on the local network without the need of accessing external DNS servers nor maintaining internal DNS servers.

Name Service
stationname.local command web site
album.stationname.local album web site

3. Plug and Play Networking

Compute Stations come with DHCP support by default, just plugged into the local ethernet network, it will automatically retrieve networking resources e.g. IP address from the local router.

4. Dedicated Management WiFi

Compute Stations comes with its own dedicated wifi access point, restricting access to its management functions to devices that are physically close to it.

People within the wifi signal range with the correct wifi password can then access the required management functions. Some management functions, e.g. the Web Command, have their own addition passwords.

The management wifi signal has the same name as the Compute Station itself.

Selectable 20MHz Channels:

  • 2.4 GHz - 1, 6, 11
  • 5 GHz - 36, 48, 52, 64
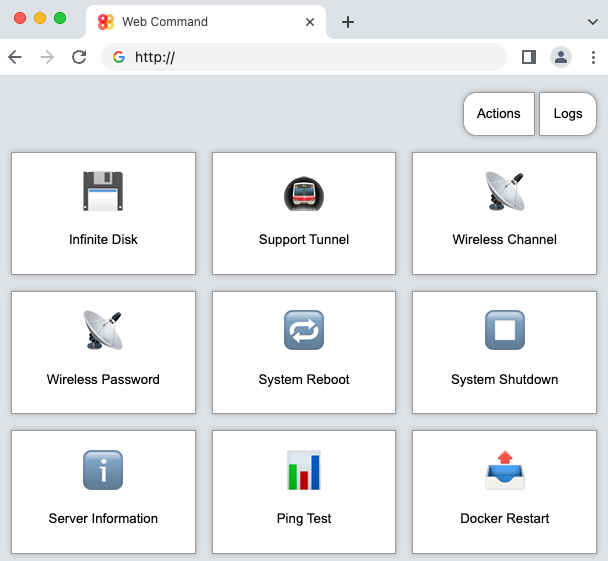
5. Web Command

Owner of the Compute Station can login to the Compute Station to perform basic management tasks using a simple point and click web interface.

6. Displayed Boot Sequence

Simple external displays (LED lights or LCD panels) report status of the boot-up process, enable non-technical people to be informed and provide assistance in troubleshooting situations.

Boot-up Steps Displayed:

  1. power applied
  2. before DHCP start
  3. DHCP received ip ok
  4. boot up server authentication ok
  5. station start finished

7. Hardware Watchdog

Rebooting machines is one of the most often requested on-site support operation. Compute Station comes with hardware watchdog that will reboot the machine automatically when it experience major problems e.g. crashed, locked up, load too high etc.

8. Alternative Operating System

ARM Process Station is currently using Ubuntu, the use of Proxmox may be possible in the future.
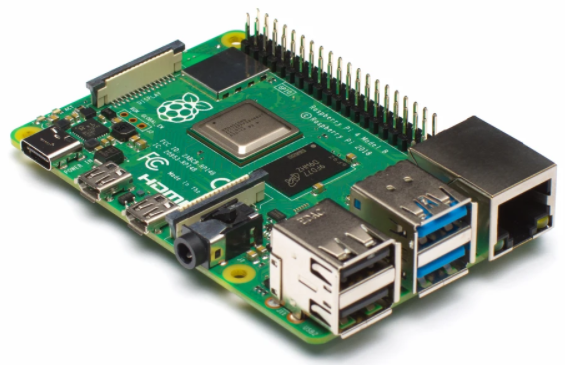
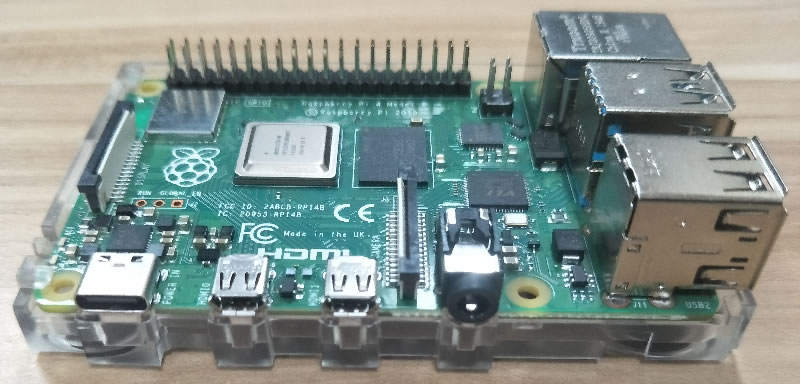
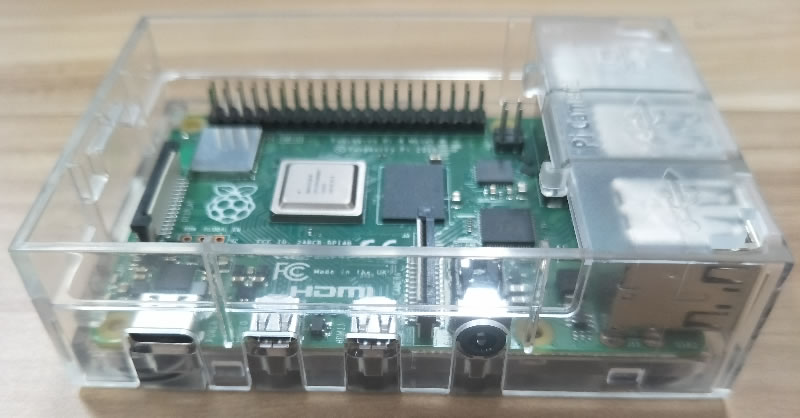
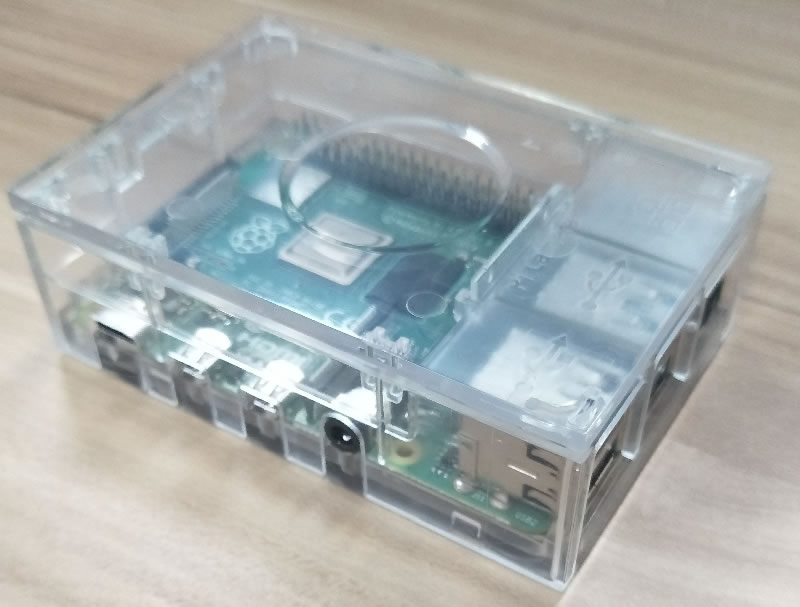
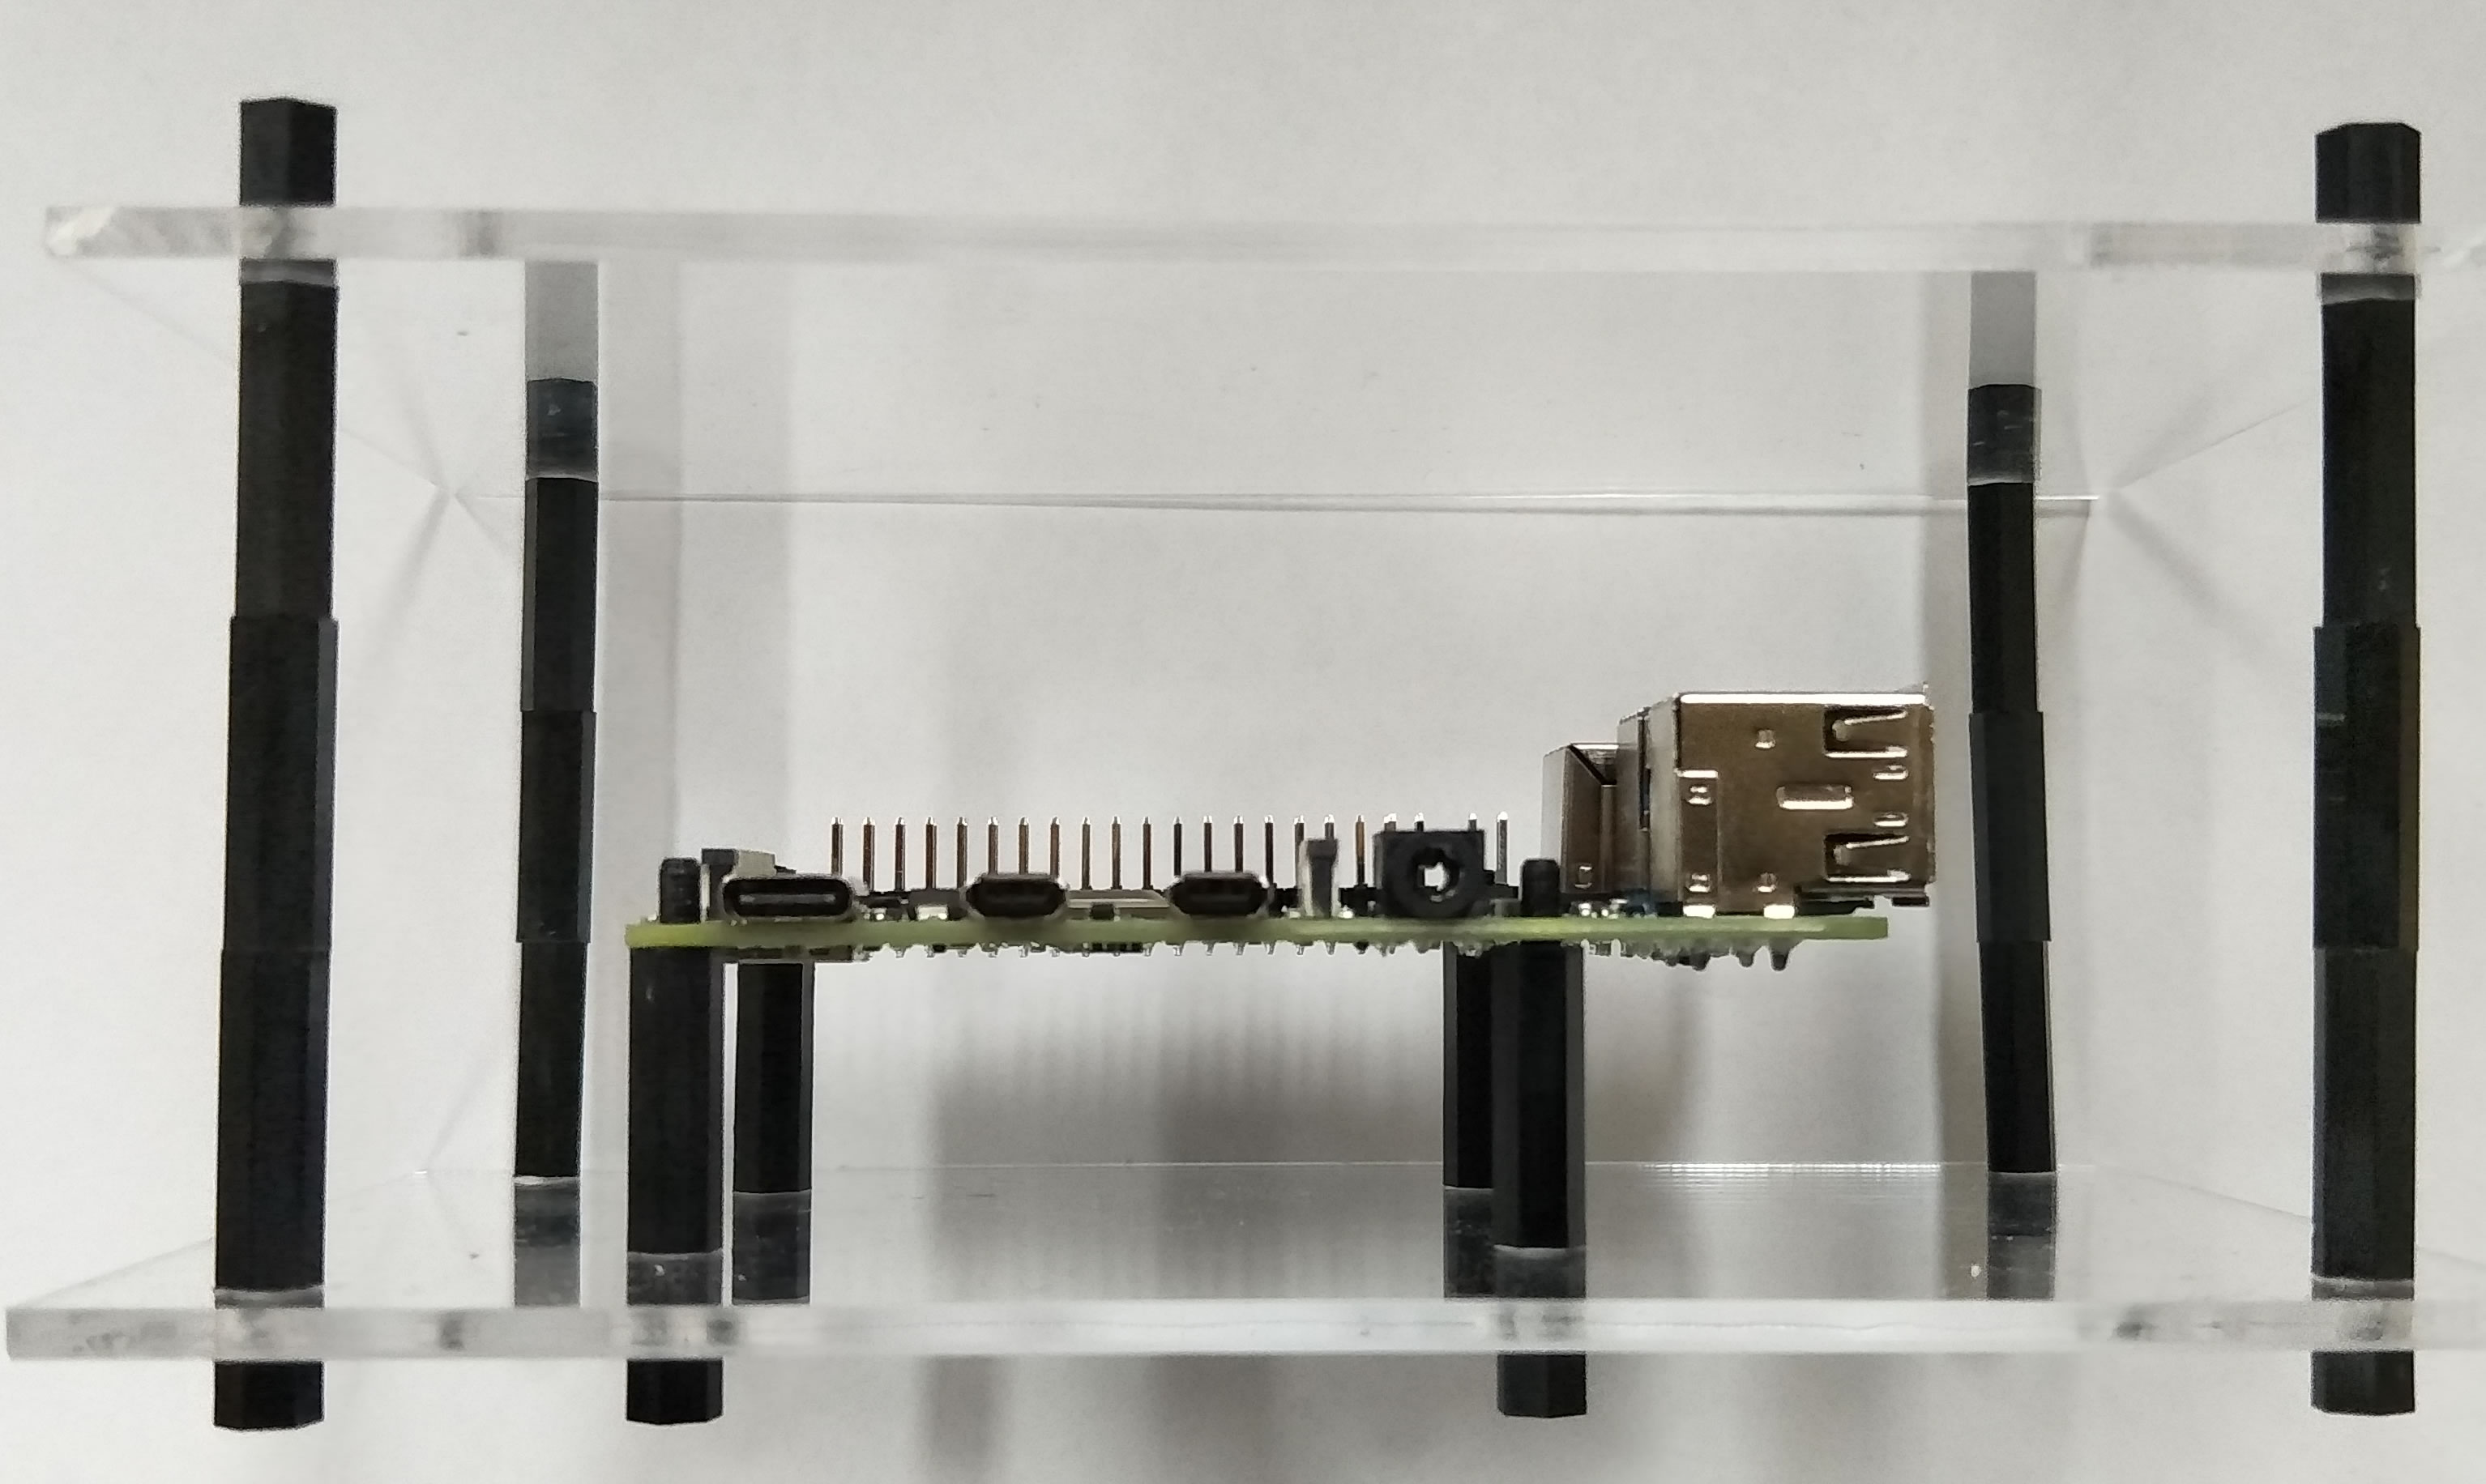
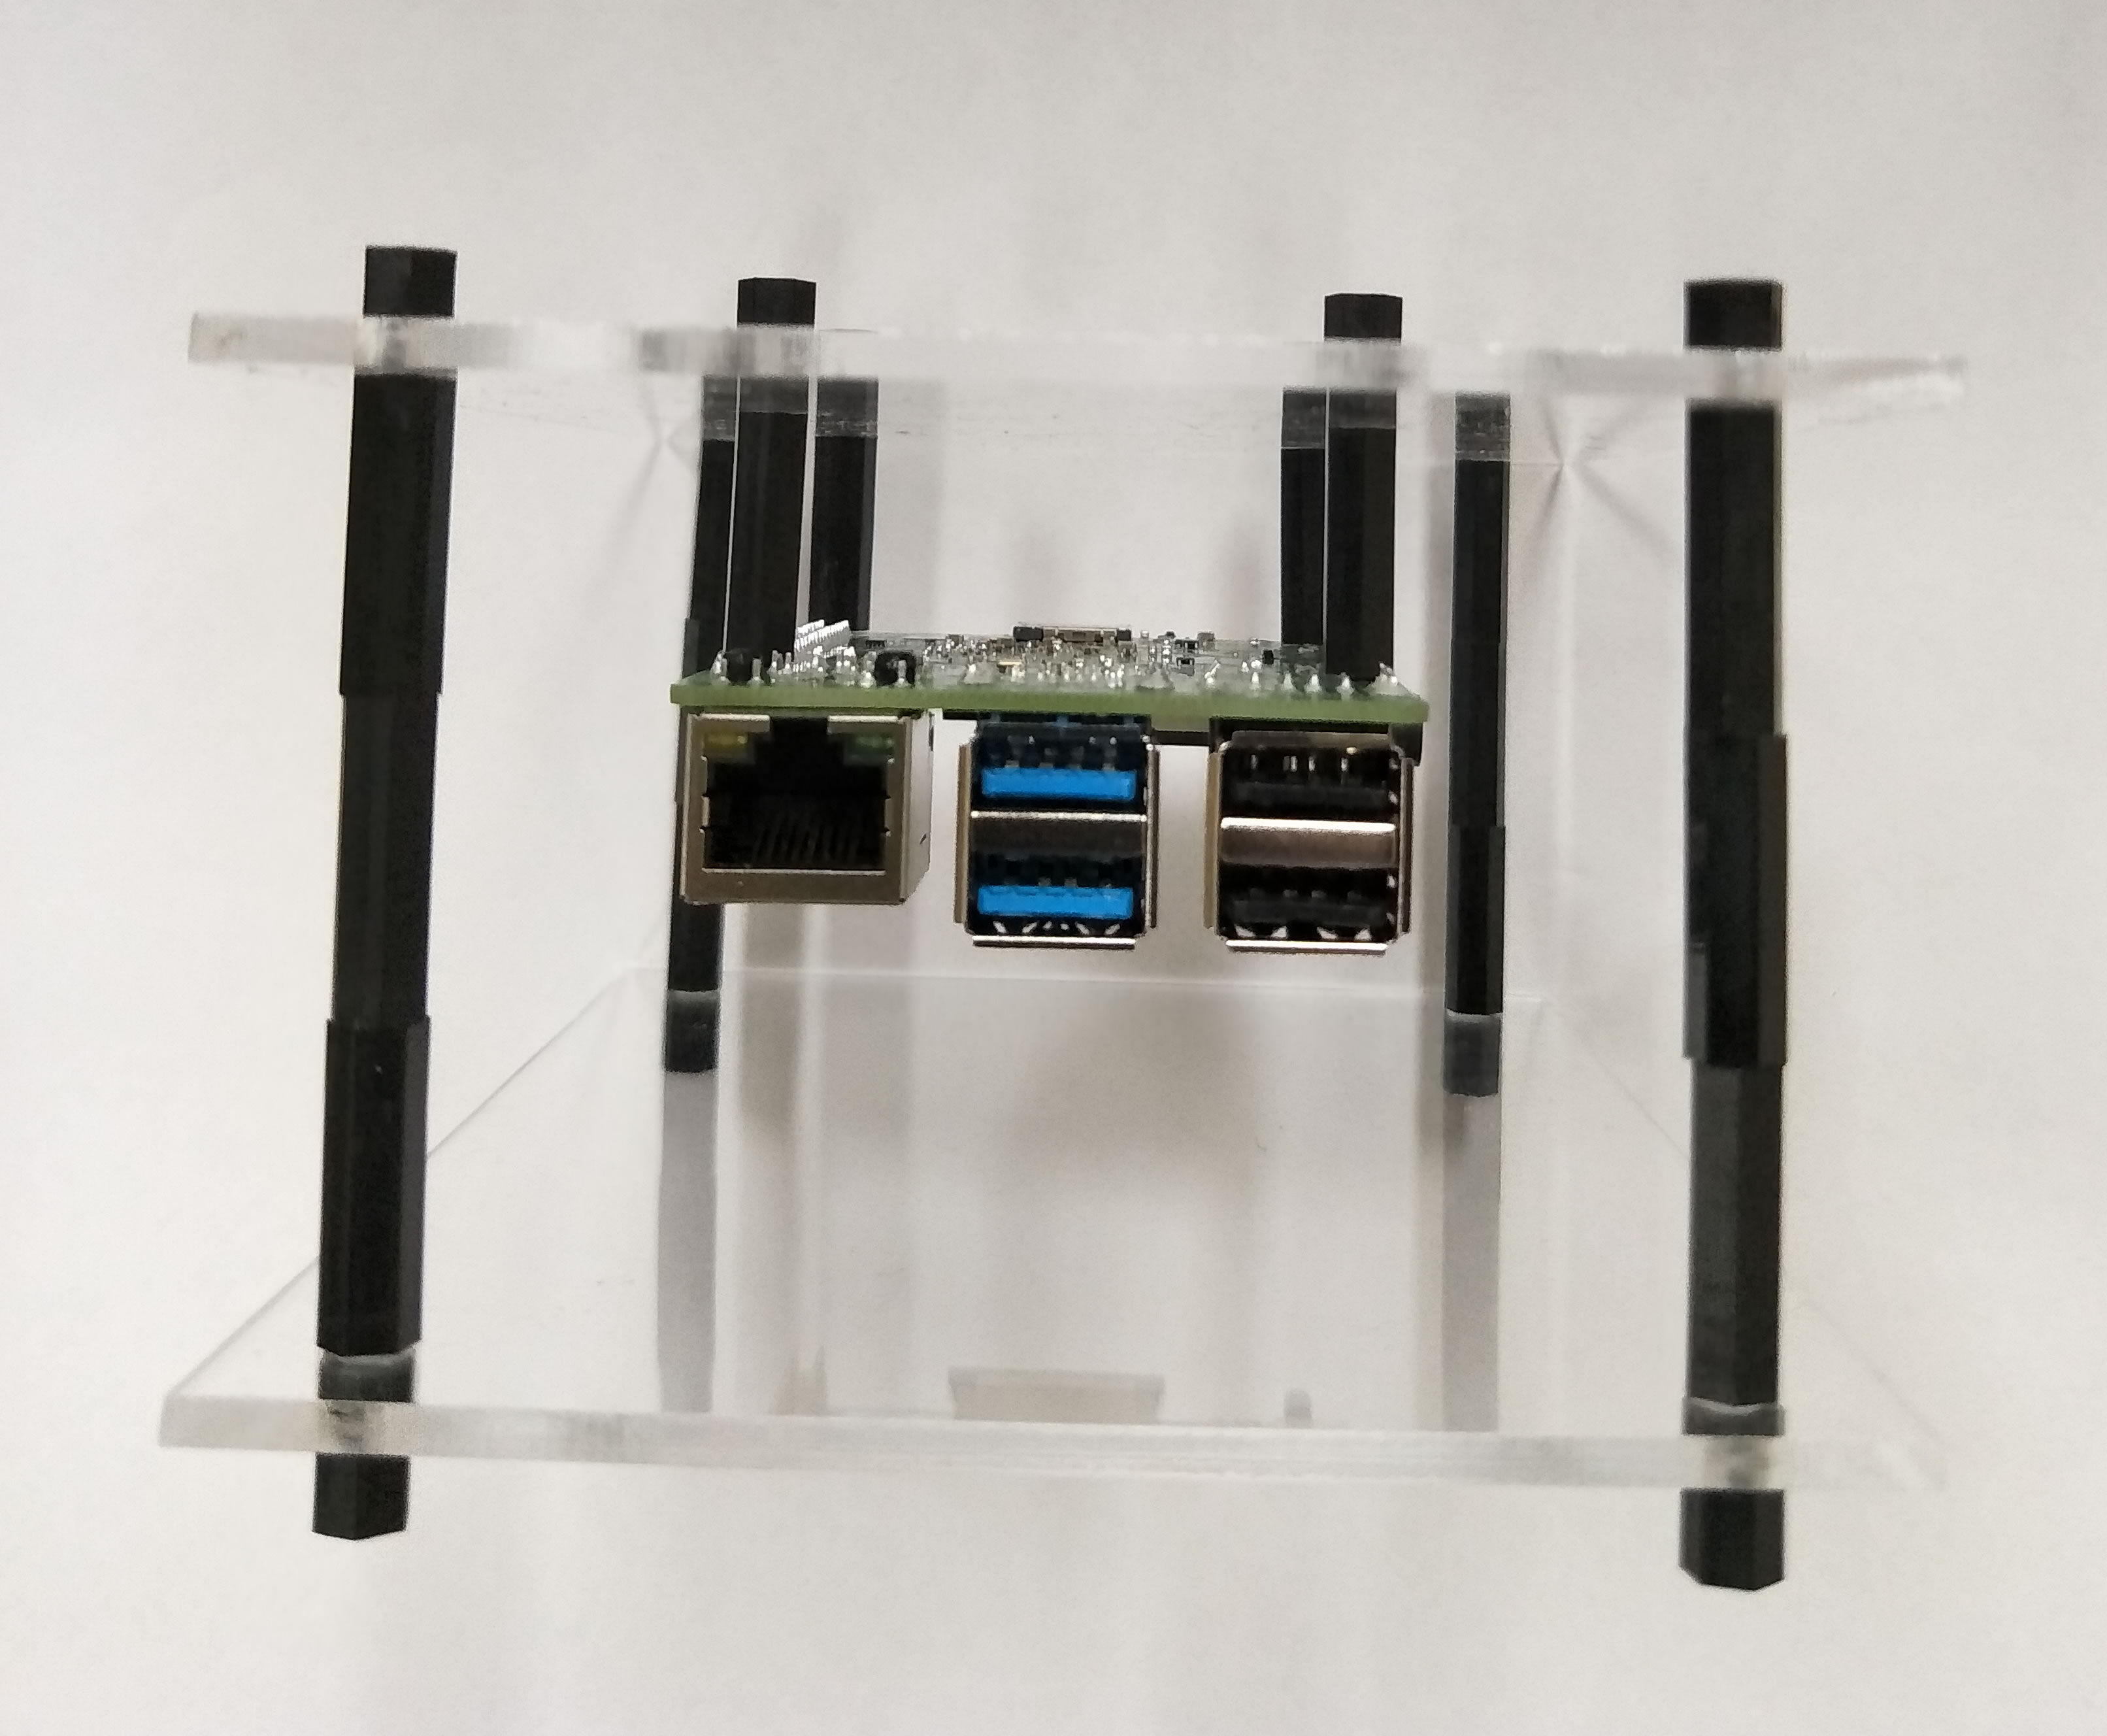
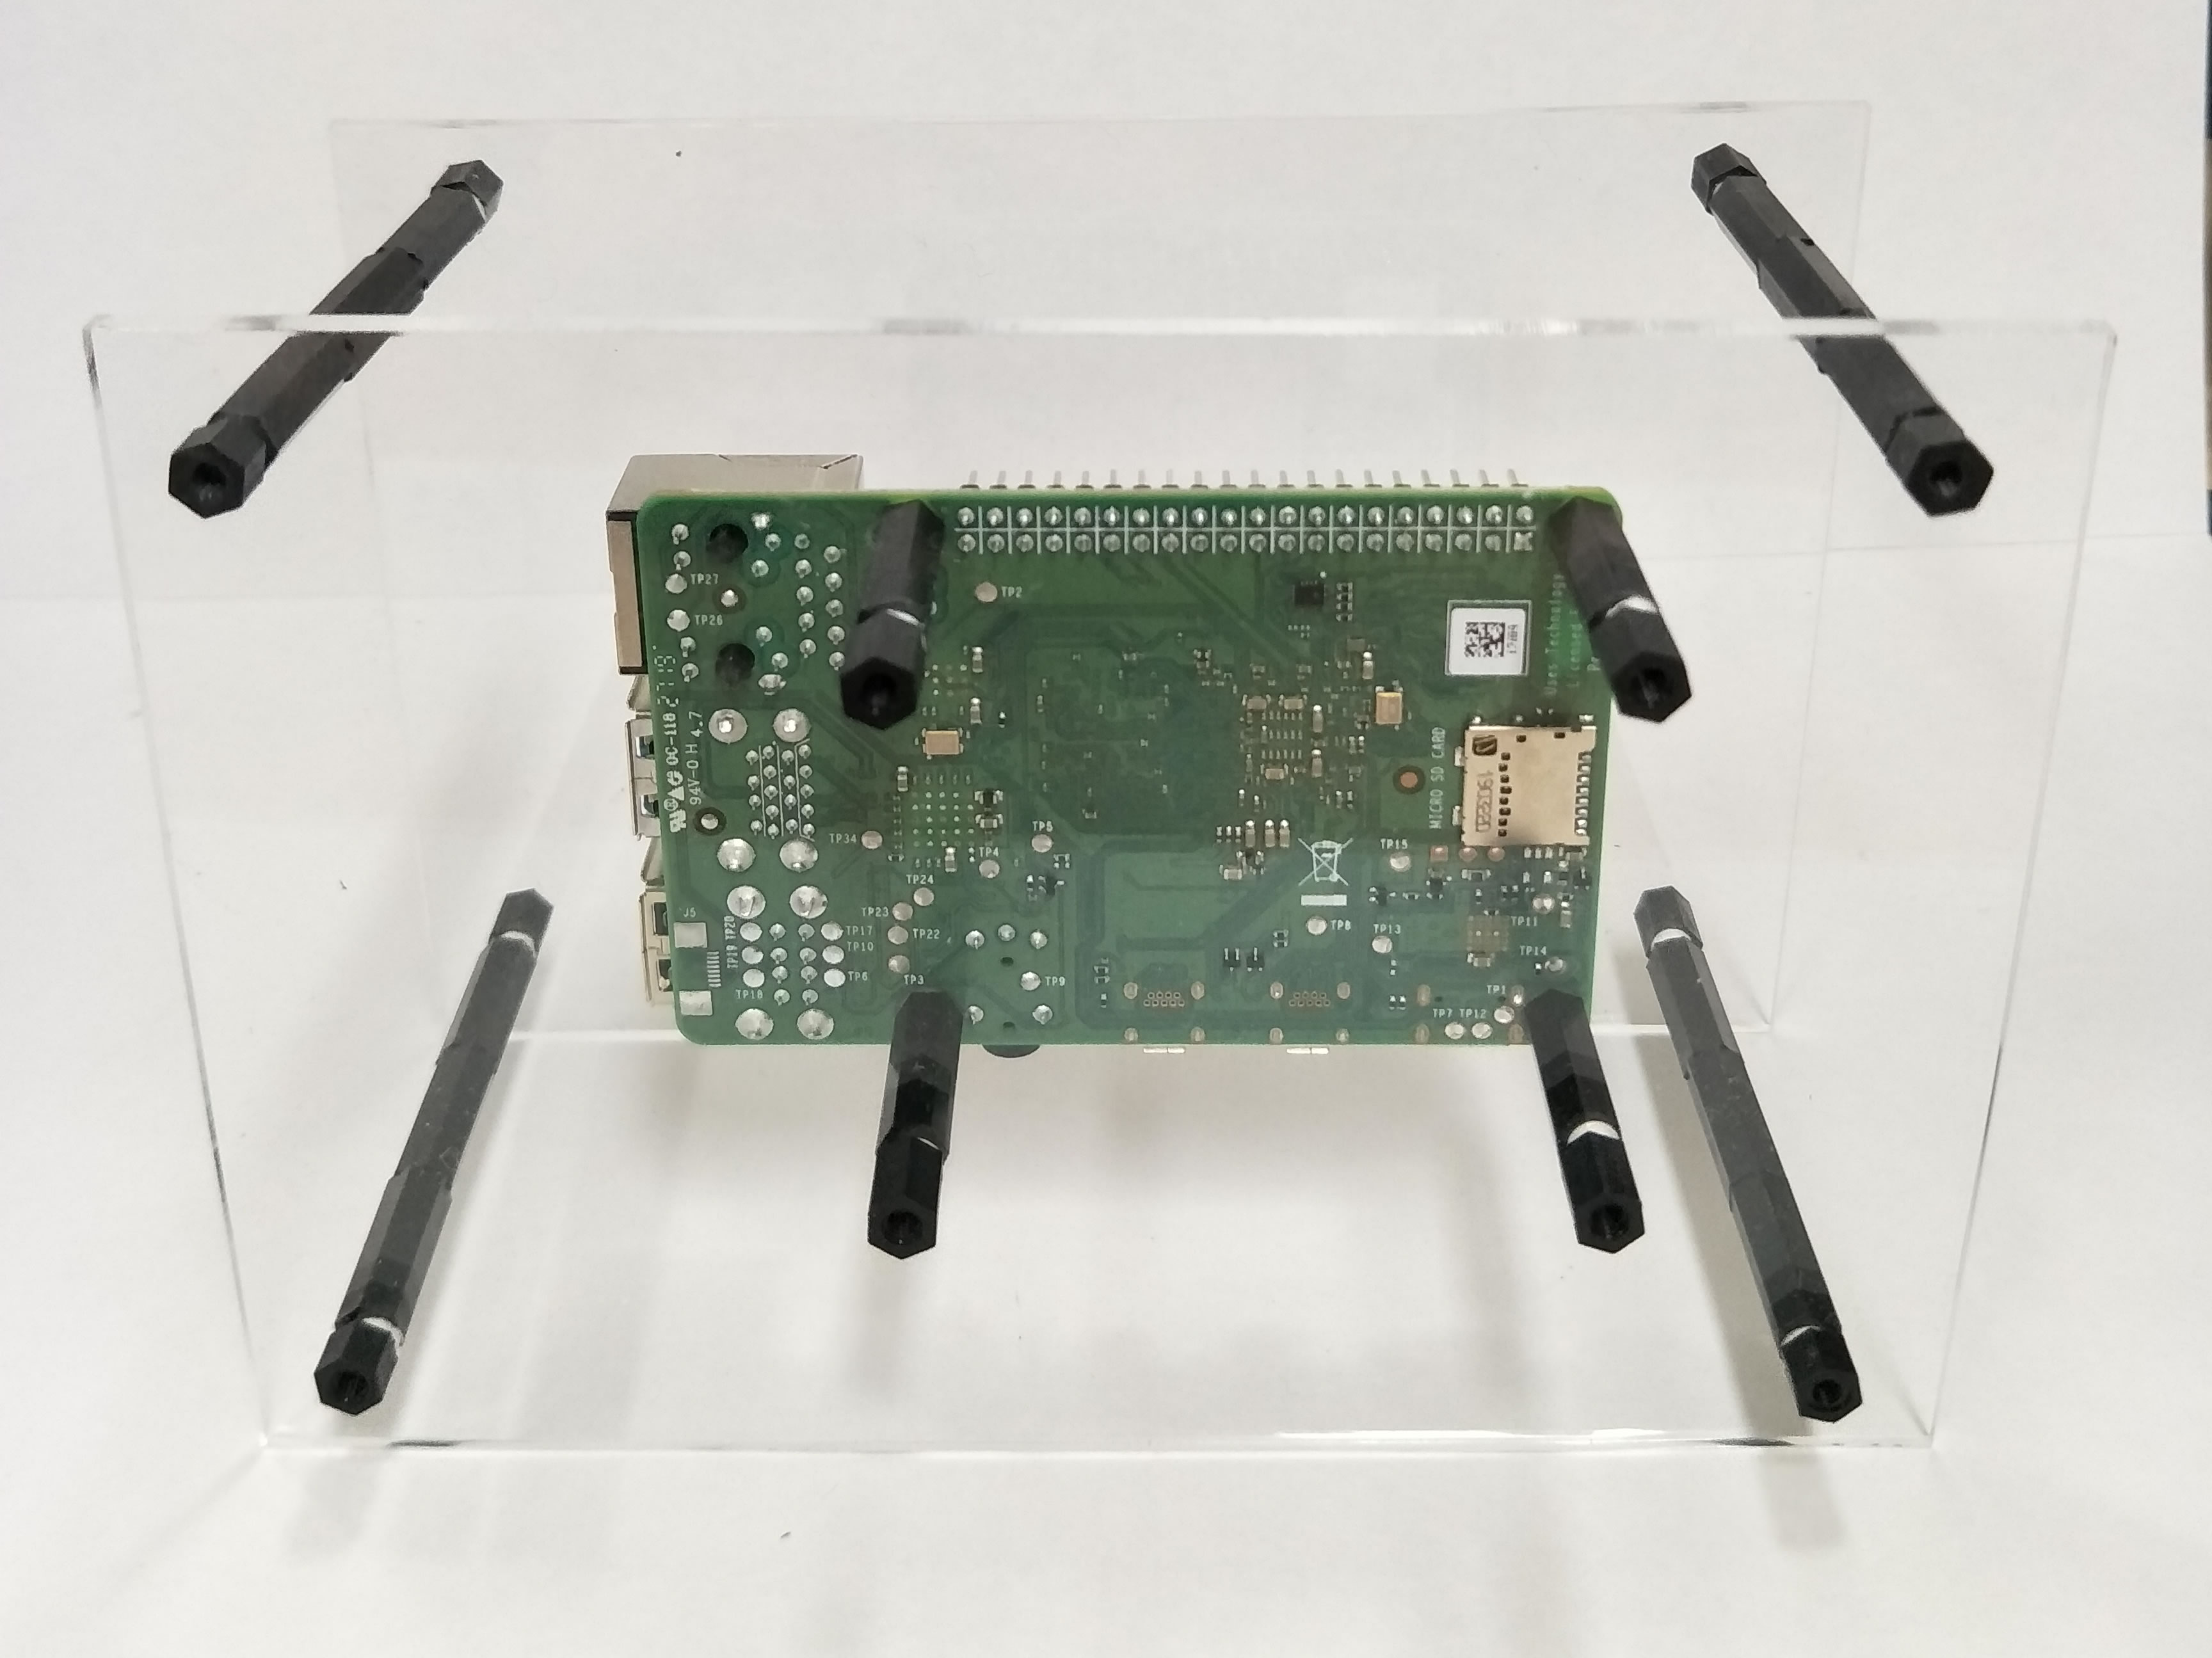
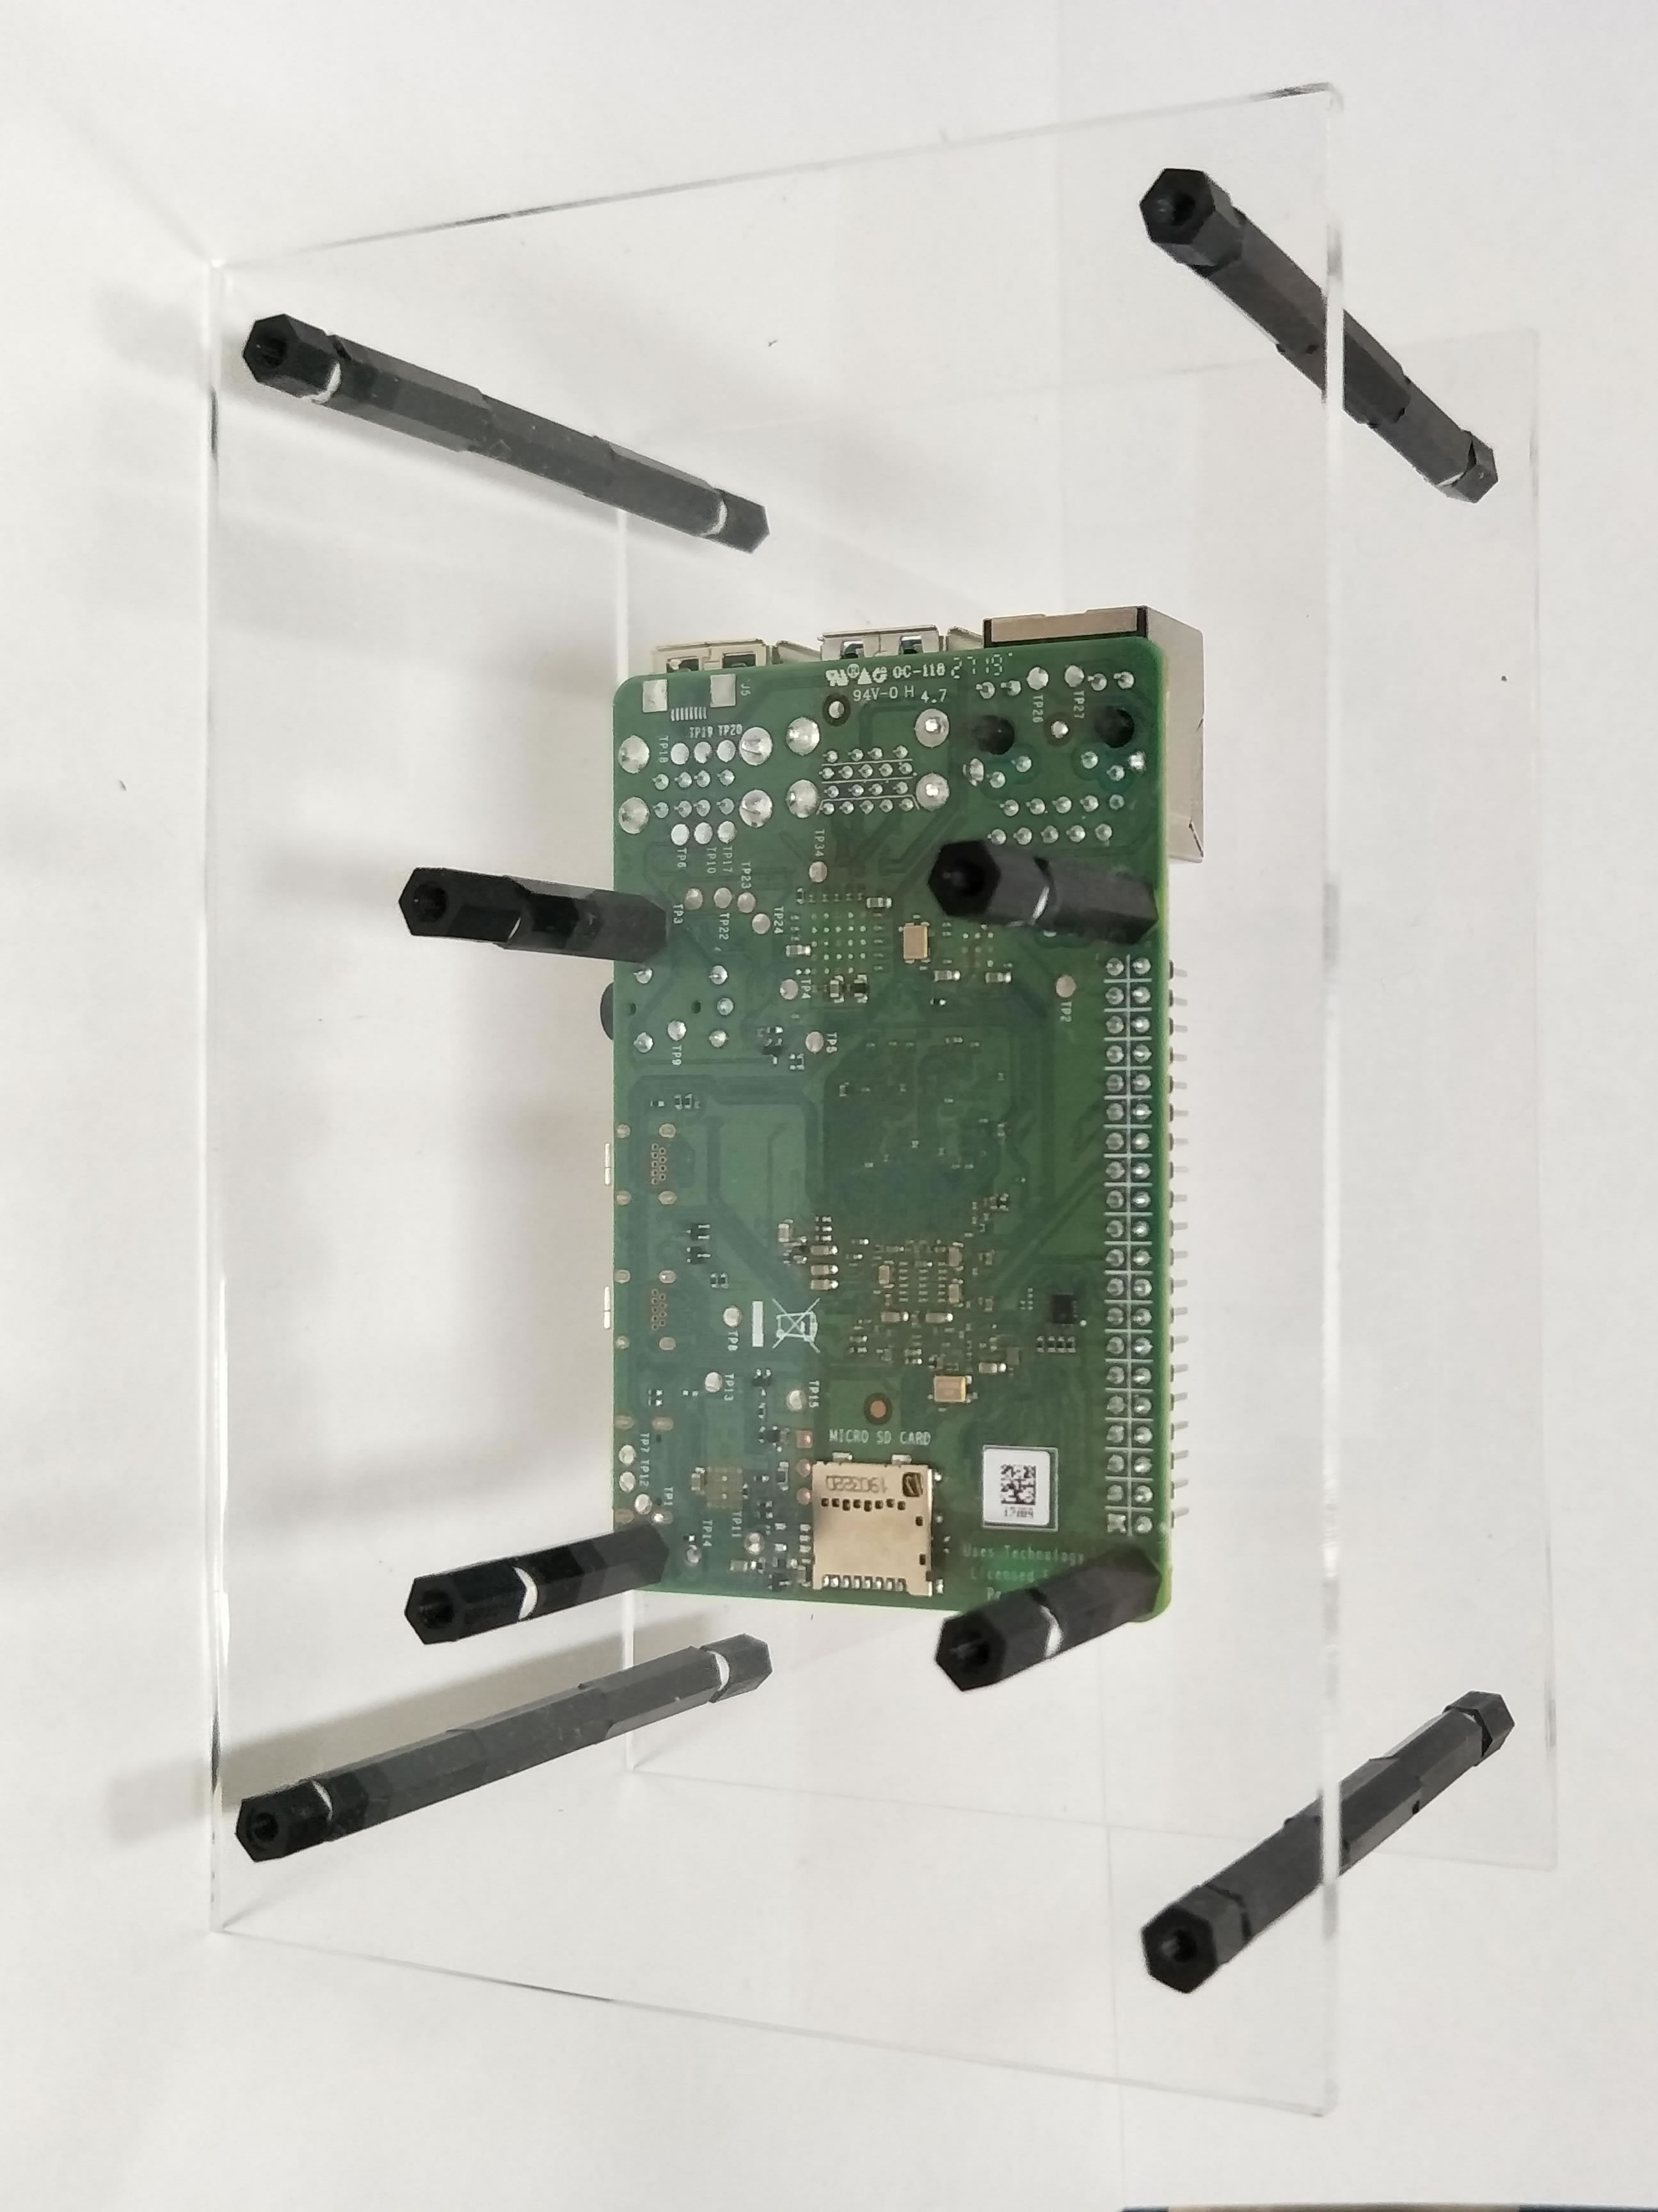
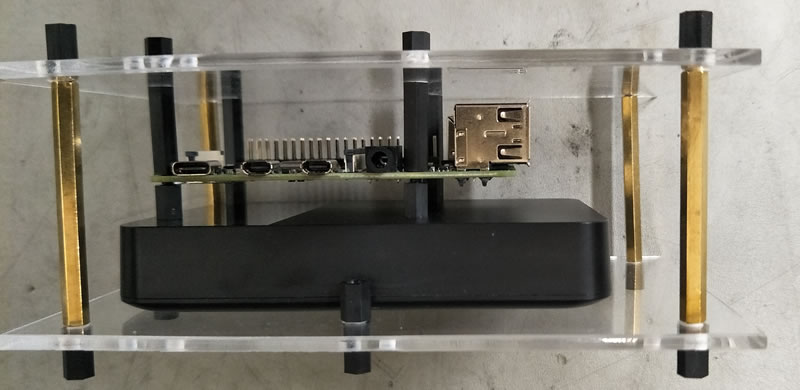
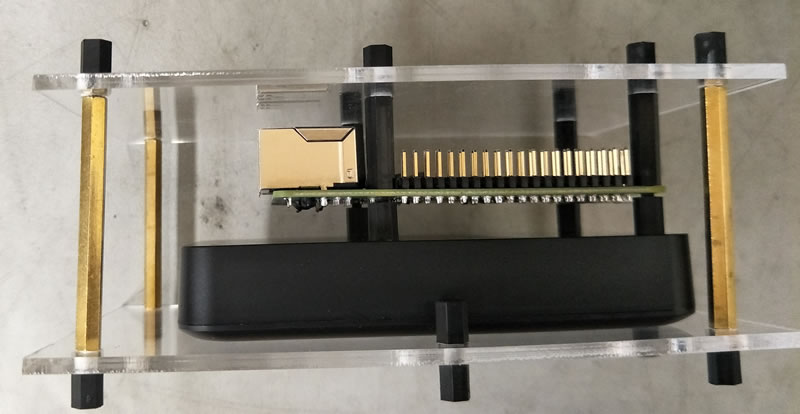
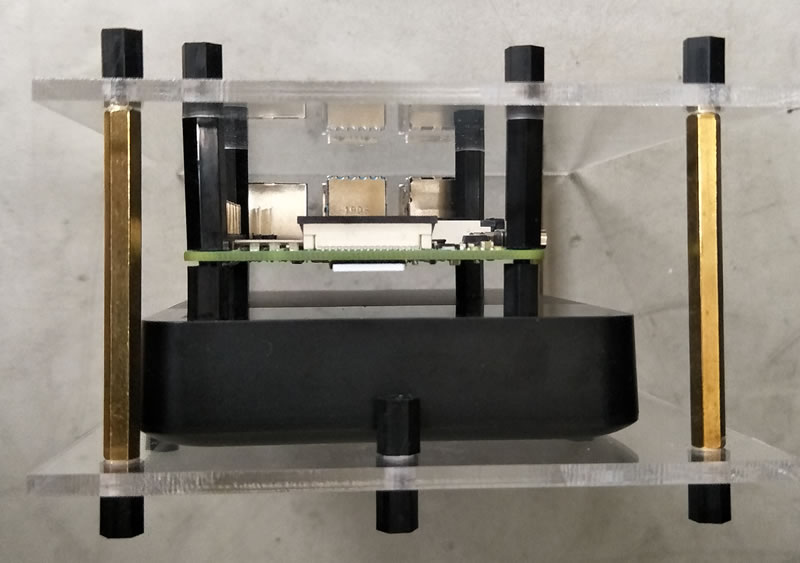
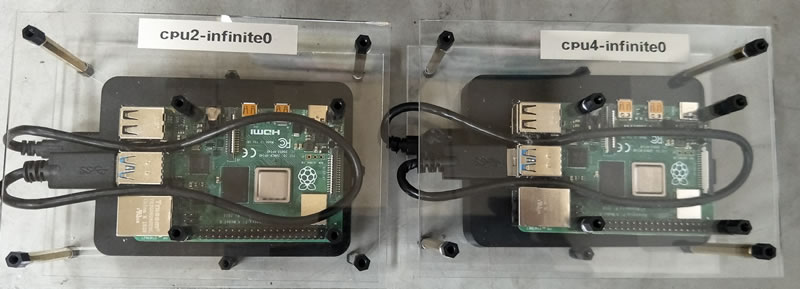
9. Reference Build

The current ARM Process Station reference build is based on the Raspberry Pi 4B.

Alternative to Raspberry Pi 4B

Due to the shortage of Raspberry Pi 4B, we are developing a few alternative ARM based compute stations. One of them is the Orange Pi 3 LTS which offers similar functions at similar price points:

Manufacturer Web Page:
http://www.orangepi.org/html/hardWare/computerAndMicrocontrollers/details/orange-pi-3-LTS.html

opi3lts

User Manual from the manufacturer:
https://drive.google.com/drive/folders/1WBgdJkP_hzmfL-tmKnodomVpfBkml1nT

Ubuntu Operating System from the manufacturer:
https://drive.google.com/drive/folders/1KzyzyByev-fpZat7yvgYz1omOqFFqt1k

Please contact your cyberspace integrator if you like to try out a process station based on the Orange Pi 3 LTS.

In theory, thousands of other ARM 64-bit single board computers models (with at least 2G RAM running the latest Debian or Ubuntu operating systems) can also act as Raspberry Pi 4B alternatives.

For example:

  1. Armbian supported computers
  2. DietPi supported computers

Raspberry Pi 4B

The current reference ARM Process Station for Private Cyberspace is the Raspberry Pi 4B with 2GByte or more RAM.

The ARM and RISC-V architectures are providing cyberspace owners with increased options in compute hardware.

raspberrypi4b

Raspberry Pi 4 Model 4B
Processor: Broadcom BCM2711, Quad core Cortex-A72
WiFi: 2.4 GHz and 5 GHz IEEE 802.11ac
Bluetooth: 5.0
Ethernet: 1 Gbps
USB: 2 x USB 3.0, 2 x USB 2.0
GPIO: 40 pin header
MIPI: 2-lane DSI display output, 2-lane CSI camera input
Power supply output voltage: +5.1V DC
Output power (max): 15.3W
Output cable: 1.5m 18AWG
Output connector: USB Type-C
Input voltage: 100-240Vac (rated)
Input frequency: 50/60Hz ±3Hz
Input current: 0.5A maximum
microSD SSD: 1 x 64GB encrypted Ubuntu (brand and model may vary)

There are 3 Raspberry Pi 4B models with 2GB, 4GB, 8GB LPDDR4-3200 SDRAM memory capacities. In the reference designs we are using only the 2GB and 8GB models:

Design RAM Recommended Users Main Applications
ARM 2G-1 2 GB 1 Infinite Disk File Node, SMB Server
ARM 8G-1 8 GB 4 Infinite Disk File Node, SMB Server, Media Album

Turnkey Systems

Take the hassle out of building your own information infrastructure.
oztralia.com can provide preassembled and tested ARM base Compute Station.

Development Notes

Raspberry Pi 4B specific development notes.

1. Get Serial Number and Model

Using device tree

cat /sys/firmware/devicetree/base/serial-number
cat /sys/firmware/devicetree/base/model

2. Control Status LEDs

Turn on and off green LED

echo 1 > /sys/class/leds/led0/brightness #Turn ON green
echo 0 > /sys/class/leds/led0/brightness #Turn OFF green

Flash red LED using heartbeat

echo heartbeat > /sys/class/leds/led1/trigger 

Links

3. Change Bluetooth MAC Address

Check MAC Address

bdaddr -i hci0

or

bluetoothctl

Change MAC Address

bdaddr -i hci0 01:23:45:67:89:ab
hciconfig hci0 reset

restart

systemctl restart bluetooth.service

LED Statuses

1. Red LED

Red LED is the power indicator. It is normally on if there is enough power (> 4.65V).

We have made the Red LED to also indicate the compute station's boot up states.

Step Pattern Status
1 red on power applied
2 red off before dhcp start
3 red blink dhcp received ip ok
4 red off boot up server authentication ok
5 red on station start finished

Outside of the above boot-up sequence, the Red LED will remain "red on" whenever there is power applied, even after the Home Station has shutdown and all other LEDs are off.

2. Green LED

Green LED is the microSD memory card status indicator. It blinks during memory card activity.

During boot up Green LED (activity) normally blinks in an irregular pattern. It can give out regular Error Patterns - with long flashes then short flashes then repeat in 2 seconds (in most cases):

Long flashes Short flashes Status
0 0 No blinking then EEPROM might be corrupted
0 3 Generic failure to boot
0 4 start*.elf not found (on SD-card)
0 7 Kernel image not found
0 8 SDRAM failure
0 9 Insufficient SDRAM
0 10 In HALT state
2 1 Partition not FAT
2 2 Failed to read from partition
2 3 Extended partition not FAT
2 4 File signature/hash mismatch - Pi 4
4 4 Unsupported board type
4 5 Fatal firmware error
4 6 Power failure type A
4 7 Power failure type B

The Green LED is OFF when the Home Station has been shutdown.

3. Ethernet LEDs

There are two LEDs on the ethernet RJ-45 connector.

  1. Yellow is the LINK LED, on when the ethernet Link is connected.
  2. Green is ACT LED, blinks when there is Activity on the ethernet port.

These ethernet LEDs do NOT change colour with different link speeds.

During normal operation the Yellow is solid and the Green is flashing. The ethernet LEDs are OFF when the Home Station has been shutdown.

Web Commands

All Home Station broadcast its name on a WiFi channel (default is channel 11 on the 2.4GHz band) which you can connect to in order to access the Home Station's web command menu.

webcommand

Raspberry 4B Assembly

1. Offical Case

Home Station A is based on Raspberry Pi 4B.

  • 1 x Raspberry Pi 4B
  • 1 x 2G RAM
  • 1 x 64G Samsung A1 microSD
  • 1 x ABS case

Home Station A Components

  1. Computer: https://www.raspberrypi.org/products/raspberry-pi-4-model-b/
  2. Power Supply: Buy a Raspberry Pi 15W USB-C Power Supply – Raspberry Pi
  3. Case: https://www.farnell.com/datasheets/2865098.pdf
  4. Storage: EVO Plus microSD Card(2021) MB-MC64KA/APC | Samsung Australia
  5. Software: preinstalled

Home Station A Assembly

The clear case has three acrylic parts which can be easily assembled without tools.

rpi4_clear_case_parts

Case Size: 30x62x93mm
Case Material: ABS
Case Features:

  1. Clear see through plastic for status lights
  2. Two screw mount holes for wall mounting
  3. Four rubber feet for desk top
  4. Position for optional pi camera
  5. Access to all ports and pins
  6. Ventilated base and top rim

Steps

  1. Attach the Raspberry Pi 4 to the bottom part of the case. Do not insert the Micro SD Card until the case is fully assembled.
    rpi_base

  2. Gently put the clear case body until it is clicked to the clear case bottom.
    rpi_body

  3. Place the lid. There is only one correct way to put the lid and do not press it hard.
    rpi_complete

  4. Flip the case to the bottom and insert the Micro SD Card.
    rpi_sdcard

2. Vertical Case 1

Home Station B is based on Raspberry Pi 4B.

  • 1 x Raspberry Pi 4B
  • 1 x 8G RAM
  • 1 x 64G Samsung A1 microSD
  • 1 x 4TB Toshiba Canvio USB3 HDD
  • 1 x Acrylic Case

Home Station B Components

  1. Computer: Buy a Raspberry Pi 4 Model B – Raspberry Pi
  2. Power Supply: Buy a Raspberry Pi 15W USB-C Power Supply – Raspberry Pi
  3. Case: custom made
  4. Storage: EVO Plus microSD Card(2021) MB-MC64KA/APC | Samsung Australia and Toshiba - Portable Hard Drives - Canvio Basics
  5. Software: preinstalled

Home Station B assembly

It comes fully assembled.


Additional Hard Disk

Most low cost ARM computers with 64-bit CPU and 2 GB RAM (e.g. Raspberry Pi 4B) can be used to build stations for Infinite Disk nodes.

For a ready made solution, the case that comes with ARM Home Station 1 already has provision for a USB 2.5 inch Hard Disk Drive (HDD)

Infinite Disk software is already preloaded in all Home Stations, so nothing need to be installed and the software will automatically configure itself when it is plugged into a local area network.

Infinite Disk hardware is also plug and play. Just push the HDD in from Cable Side of the case then tighten or loosen the 4 hold down nuts coming from the Raspberry Pi 4B, so the 4 nuts have enough pressure to push the HDD against the acrylic case wall.

Top
top
 

Bottom
bottom
 

Cable Side
usb
 

Non-Cable Side
sdcard
 

Front
cpu2_cpu4_front
 

Back
cpu2_cpu4_back

3. Spacer Wall