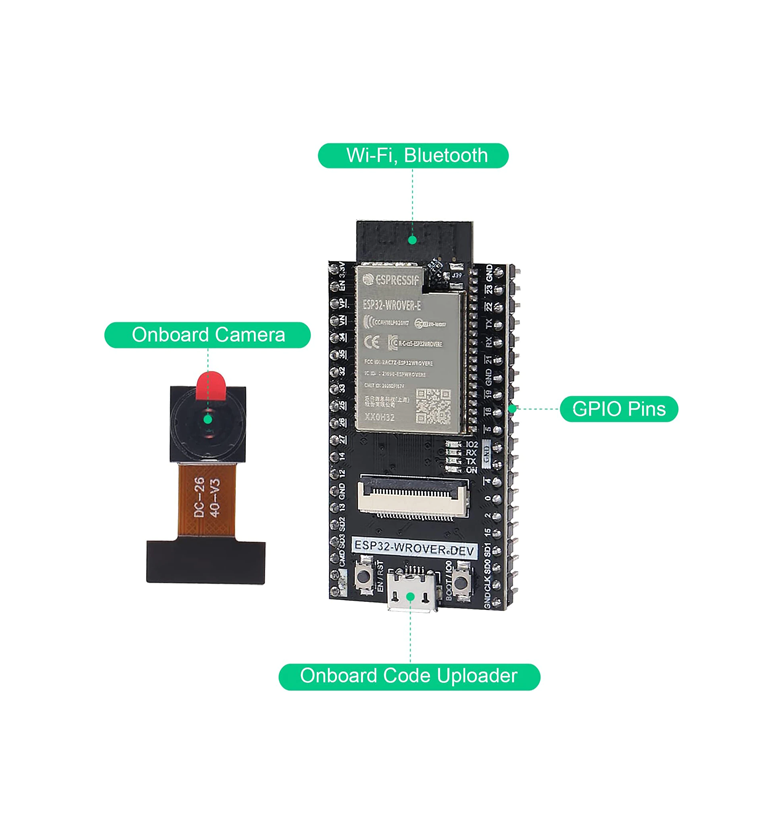
WROVER-DEV Camera
The Personal Console Controller Camera version 1 (PCCC1) is implemented with the Freenove ESP32-WROVER-DEV and its clones (board: esp-wrover-kit).
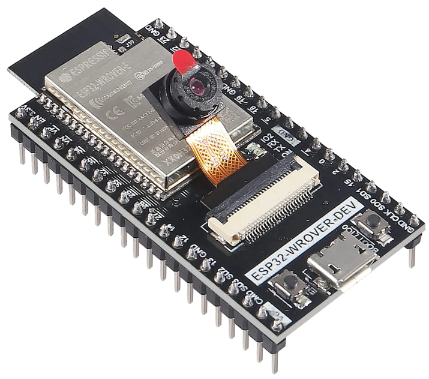
Using the esp32-wrover-e module with 2 rows of 20-pin headers.
- GitHub - Freenove/Freenove_Ultimate_Starter_Kit_for_ESP32: Apply to FNK0047
- ESP32 Camera Component - ESPHome - Smart Home Made Simple
- How to retrieve images from WROVER esp32 camera - ESPHome - Home Assistant Community
PCCC1 can stream video and take still images easily.
ESPhome on Home Assistant
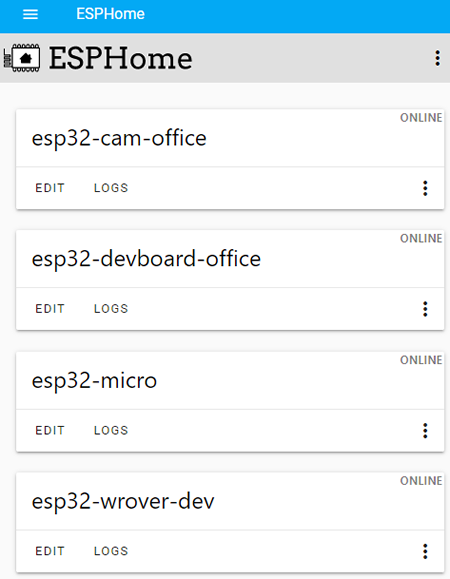
The next step is to EDIT, copy and paste the following to the esp32 device. In the configuration example below, the device used is the esp32-wrover-dev.
esp32_camera:
  external_clock:
    pin: GPIO21
    frequency: 20MHz
  i2c_pins:
    sda: GPIO26
    scl: GPIO27
  data_pins: [GPIO4, GPIO5, GPIO18, GPIO19, GPIO36, GPIO39, GPIO34, GPIO35]
  vsync_pin: GPIO25
  href_pin: GPIO23
  pixel_clock_pin: GPIO22

  # Image settings
  name: My Camera
  # ...
Note: different esp32 devices will have different pin settings.
Click on the ![]() button and then click on the
button and then click on the ![]() button.
button.
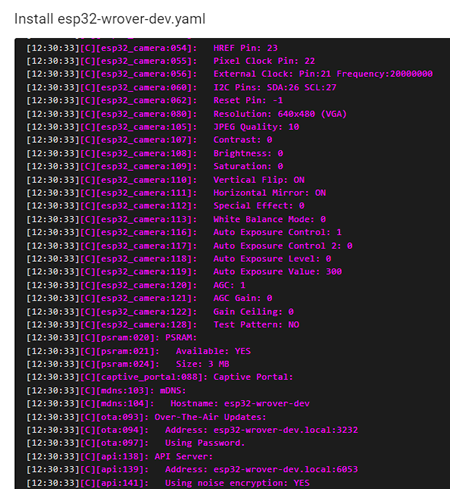
If successful, the following will be shown
Viewing live video and still images
On the side bar, select Media.
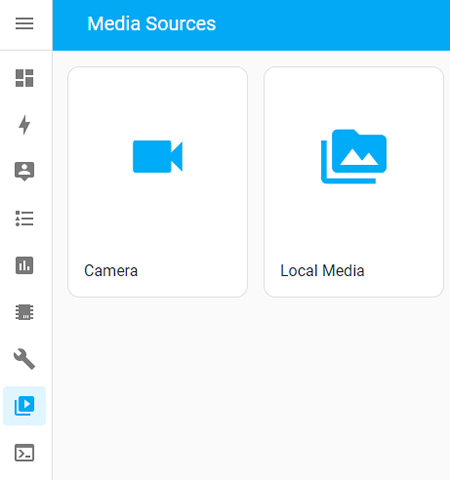
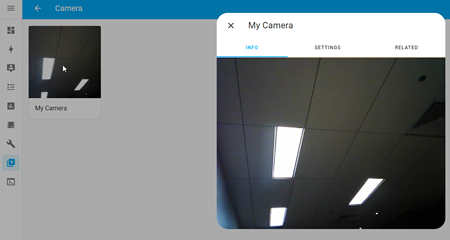
Live Video
Select the Camera button.
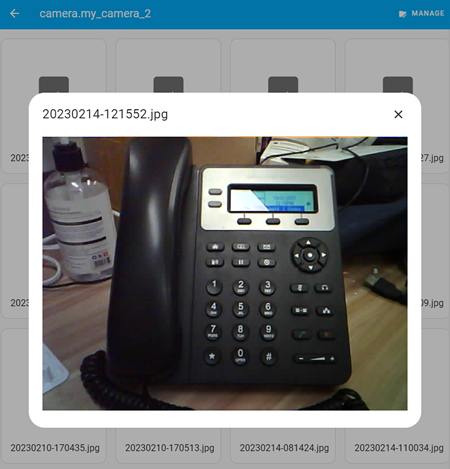
Still Images
Set up:
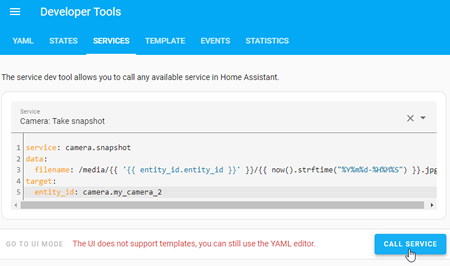
- On Home Assistant sidebar, select Developer Tools -> Services -> in the Service dropdown menu, type in Camera: and select the Camera: Take snapshot.
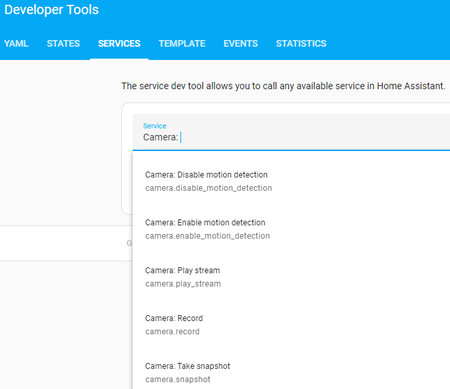
- Copy and paste the following (edit the entity_id as used by your camera):
service: camera.snapshot
data:
filename: /media/{{ '{{ entity_id.entity_id }}' }}/{{ now().strftime("%Y%m%d-%H%M%S") }}.jpg
target:
entity_id: camera.my_camera_2
- To take an image, click on the blue Call Service button.
- If successful the button will turn to
 .To view the image, on the sidebar select Media -> Local Media -> camera_entity_id