Compute in Every Home
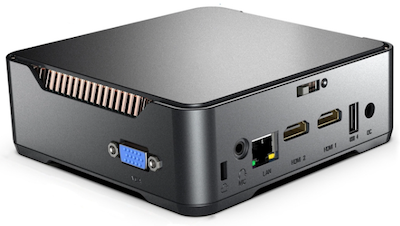
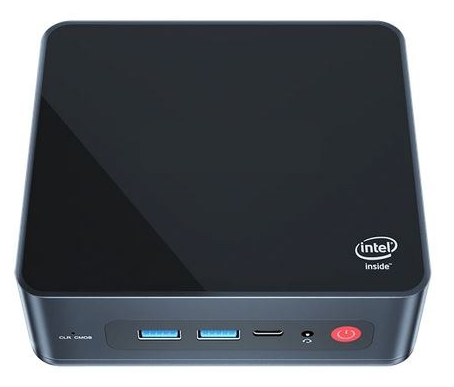
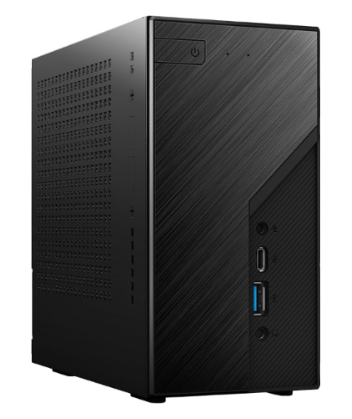
The price performance ratio of mini-PCs have improved so much that it is now possible for every home to have its own Home Station.
As of 2024-04-01, a new Home Station suitable for up to 4 people can be purchased for around A$100 (including tax and shipping).
1. Preloaded Software
Your country might already have some Private Cyberspace Infrastructure Assembler (e.g. oztralia.com in Australia) who will assemble a complete
They will put together a Home Station for you, so you just need to plug it into your home network and it will work instantly.
Assembly rates can vary a lot due to resource availability and local competition (as at 2023-09-01 oztralia.com is charging A$18 per Home Station assembly).
2. Self-Load Software
If you don't mind doing some work yourself, assembling is a cheaper way of acquiring your own Home Station:
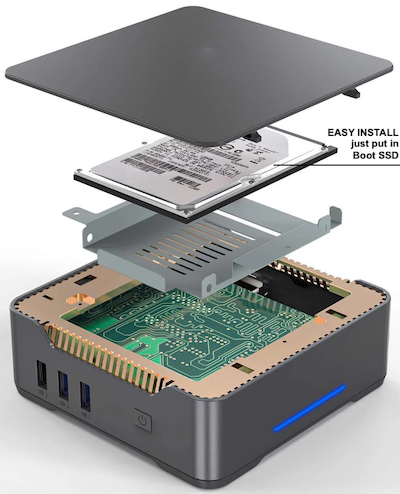
- Receive a mini-pc with preinstalled ram (at least 6 GB) and disk (at least 64GB)
- Receive a separate Boot SSD disk containing Home Station software
- Insert the Boot SSD into the mini-pc and attach it to the SATA cable inside
- Change BIOS setting to boot from the newly inserted Boot SSD
You simply need to insert the
3. Software
Currently the default OS for Home Stations is at least Proxmox 8.2.
Canonical MircoCloud is an alternative to Proxmox that we have been testing.
1. Secured Boot-Up
Raspberry Pi OS storages can be protected with encryption, to boot-up it needs to be decrypted by getting a password from remote Boot-up Servers. There can be up to 10 remote boot-up servers backing each other up, but only 1 is needed for boot-up.
Remote boot-up servers can be anywhere, from the homes of friends to commercial data centres to inside a locked cupboard in the same room as the compute station. Only one need to be online when the compute station it is serving needs to be booted up.
If the Compute Station is robbed or stolen, the remote boot-up server can be used to deny it from booting up until it has been recovered.
2. Multicast DNS
Compute Station supports station name based Multicast mDNS so its resources can be accessed on the local network without the need of accessing external DNS servers nor maintaining internal DNS servers.
| Name | Service |
|---|---|
| stationname.local | command web site |
| album.stationname.local | album web site |
3. Plug and Play Networking
Compute Stations come with DHCP support by default, just plugged into the local ethernet network, it will automatically retrieve networking resources e.g. IP address from the local router.
4. Dedicated Management WiFi
Compute Stations comes with its own dedicated wifi access point, restricting access to its management functions to devices that are physically close to it.
People within the wifi signal range with the correct wifi password can then access the required management functions. Some management functions, e.g. the Web Command, have their own addition passwords.
The management wifi signal has the same name as the Compute Station itself.
Selectable 20MHz Channels:
- 2.4 GHz - 1, 6, 11
- 5 GHz - 36, 48, 52, 64
5. Web Command
Owner of the Compute Station can login to the Compute Station to perform basic management tasks using a simple point and click web interface.
6. Displayed Boot Sequence
Simple external displays (LED lights or LCD panels) report status of the boot-up process, enable non-technical people to be informed and provide assistance in troubleshooting situations.
Boot-up Steps Displayed:
- power applied
- before DHCP start
- DHCP received ip ok
- boot up server authentication ok
- station start finished
7. Hardware Watchdog
Rebooting machines is one of the most often requested on-site support operation. Compute Station comes with hardware watchdog that will reboot the machine automatically when it experience major problems e.g. crashed, locked up, load too high etc.
8. Alternative Operating System
ARM Process Station is currently using Ubuntu, the use of Proxmox may be possible in the future.
9. Reference Build
The current ARM Process Station reference build is based on the Raspberry Pi 4B.
