Console Vault application encrypts your secret data (e.g. your passwords, your contacts etc.) on your personal devices (e.g. your phones, laptops etc.). You now have access to all your passwords at all times whether you are online or offline.
You only have to remember ONE password to unlock the different passwords for all your applications across all your devices. You can optionally backup the Console Vault encrypted secret data on to Infinite Disk using SMB, WebDAV etc.
For more advanced password management including sharing of passwords securely online please refer to Remote Vault.
The servers are only used for storage and not processing of any kind, since they do not have access to the data in decrypted form.
You can put any offline capable Password Management application into your Console Vault capsule, currently KeeWeb is the software are supported by most incubators:
Console Vault is a cross platform offline capable web application.
1. How to Start
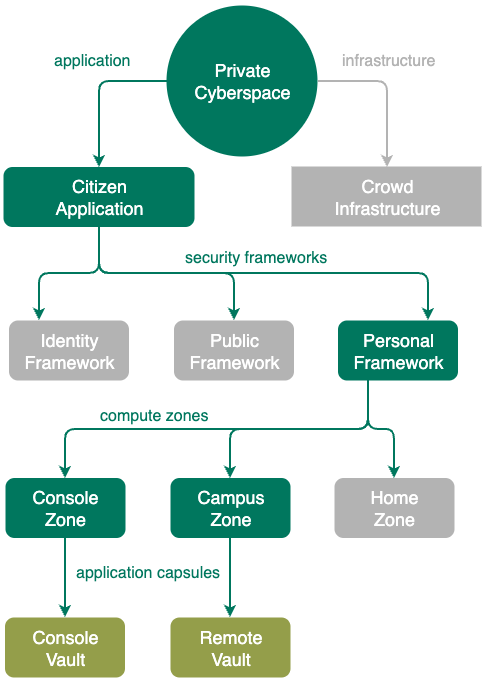
Console Vault is available in all Private Cyberspace under the Console Zone.
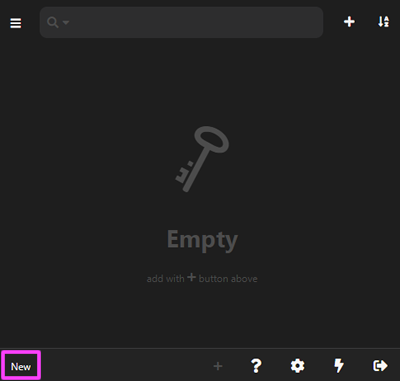
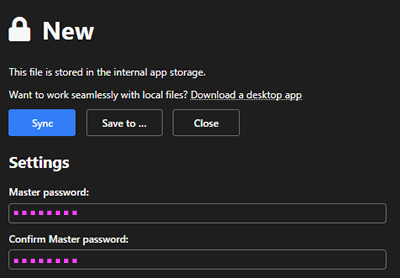
The first thing to do is to create the Master password by clicking on the icon and click on New at the bottom left hand corner.
Enter the password in the Master password and Confirm Master Password fields.
Click on the button
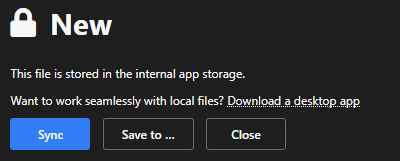
Click on the button on the bottom right hand corner to exit.
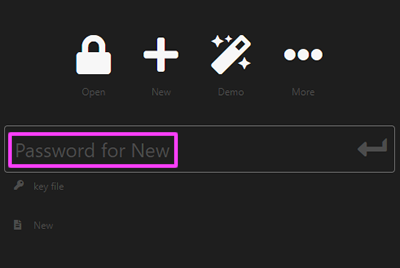
Enter the Master password in the field below. IMPORTANT: if the browser's cache is cleared, all settings will also be cleared since all data are stored in the browser's storage.
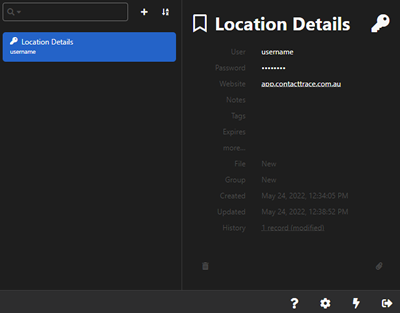
To start adding entries, click on the Add New button (the + icon)
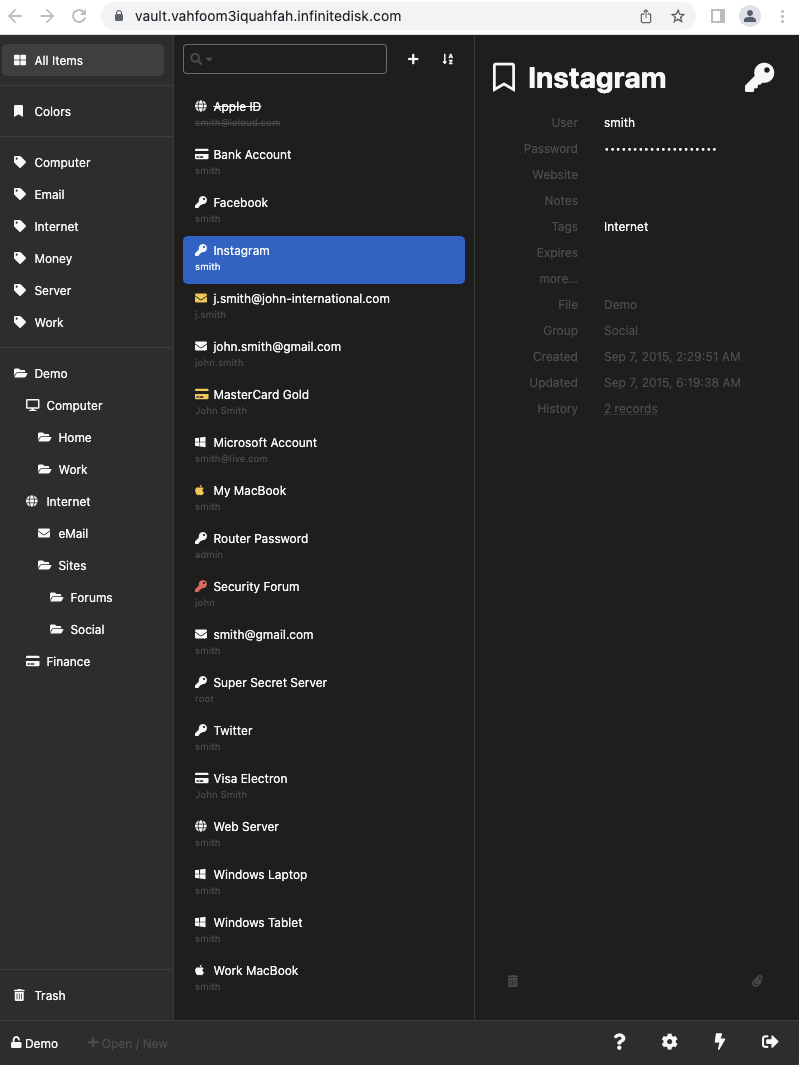
Enter the fields needed. In the example below, the fields entered are the Title, Username, Password and Website.
2. How to save to a local file
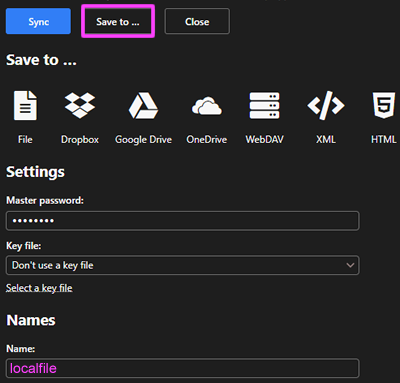
Click on the button located on the bottom left hand corner.
Click on the button, then click on the button and enter the Name of the file that is going to be saved locally. In the example below, the name of the file is called localfile.
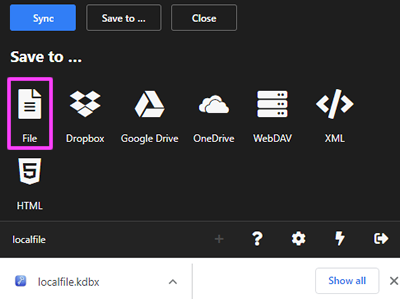
Click on the File icon and localfile.kdbx file will be downloaded.
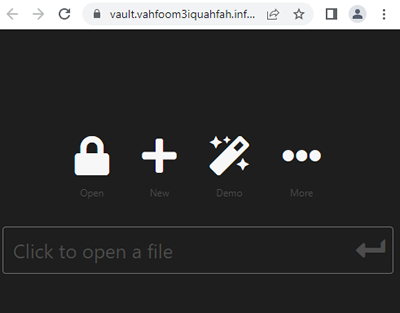
To access the localfile.kdbx file, open a browser and go to https://vault.vahfoom3iquahfah.infinitedisk.com, click on the Open button, browse to the location where localfile.kdbx is stored (in Windows it is normally located in the Download folder).
3. How to save to WebDAV
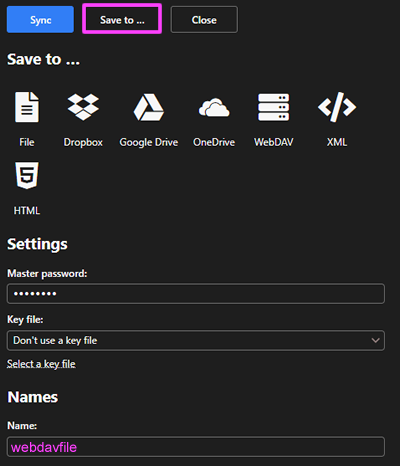
Click on the button located at the bottom left hand corner.
Click on the button, then click on the button and enter the Name of the file that is going to be saved on WebDAV. In the example below, the name of the file is called webdavfile.
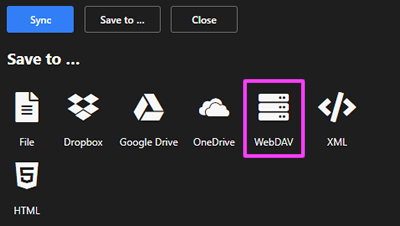
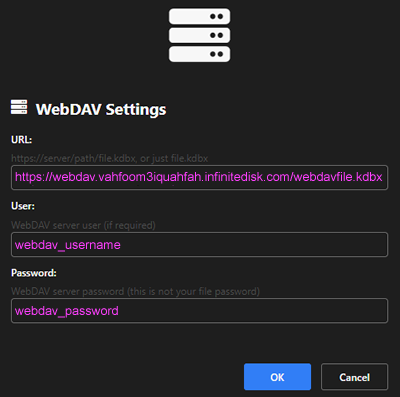
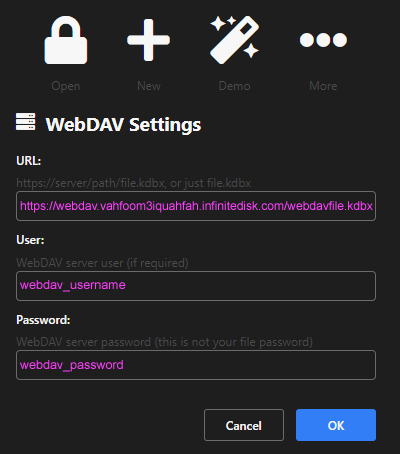
Click on the WebDAV icon.
Enter the WebDAV settings and click on the OK button. Remember the file name must be followed by the .kdbx extension. In the example below, the file name is called webdavfile.kdbx.