Alias List
Create Alias
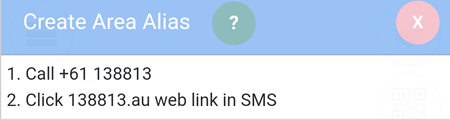
The next level of alias after the Private Alias is Area Alias which can be upgraded by ringing +61 138813. Clicking the web link in the SMS sent will complete the Area Alias upgrade.
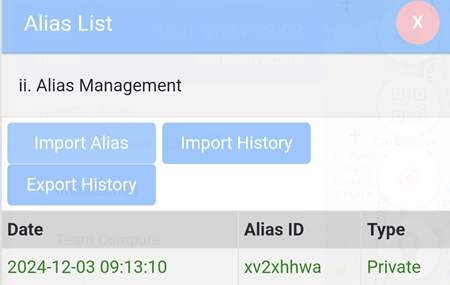
Alias Management
All aliases listed on Privacy Teams -> Alias List -> Alias Management can be exported (saved) so in case the browser's cache is cleared or using a different phone, the same alias can be imported back and reused.
Export
In the example below, there is only one Private alias xv2xhhwa.
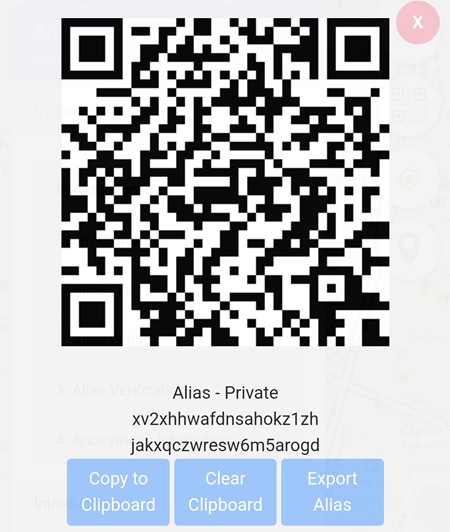
To export the alias, click on the 8 character Alias ID, e.g: xv2xhhwa and the window below will be displayed. Click on the Export Alias button to continue.
A password is required before the alias can be exported.
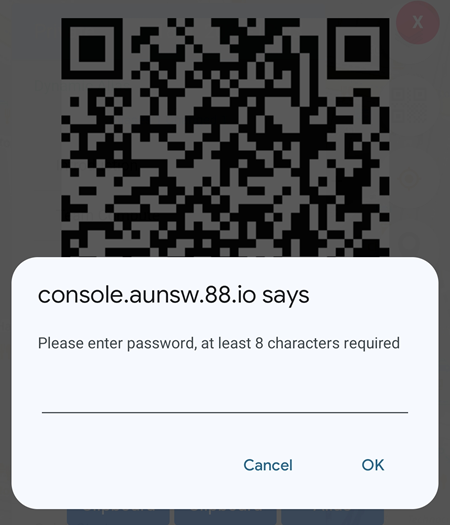
Simply click on the OK button to save the alias to the local storage of the device.
Import
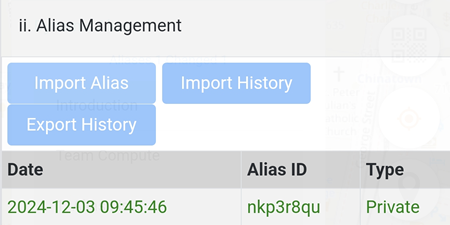
In the example below, there is only one Private alias nkp3r8qu.
In order to import a different alias, e.g: Private alias xv2xhhwa, click on the Import Alias button.
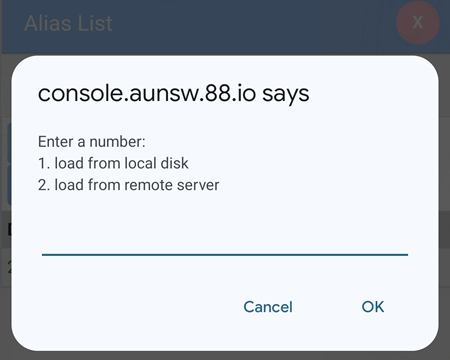
Select 1 or 2 to load the alias to be imported. For Private Alias users, the alias is exported to the local disk. Simply browse to the location where the file (ending with .alias) is exported, normally in the Download folder of the device and enter the password.
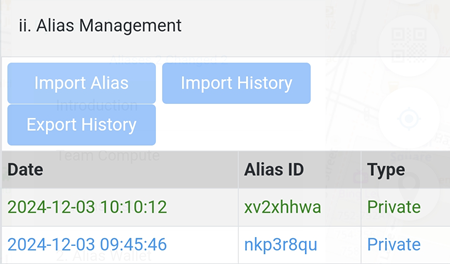
After the alias has been successfully imported, the imported alias will be displayed. In the example below, the imported alias is Private alias xv2xhhwa
The alias history can also be exported and imported by clicking on the Export History and Import History buttons.
Alias Details
This is the place to enter your personal details, such as Display Name, Phone Number, Email address etc.
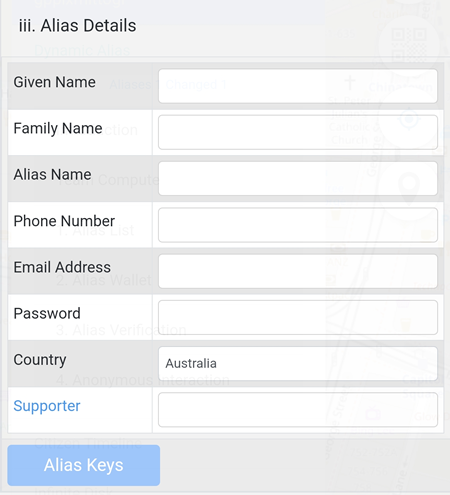
All aliases come with at least 4 keys:
- Public encryption key
- Private encryption key
- Public signing key
- Private signing key
Public Key Pairs
By default the Public Key Pairs are NaCl based:
Public Key Demo
Secret Keys
By default the Secret Keys are NaCl based:
Secret Key Demo
Encryption
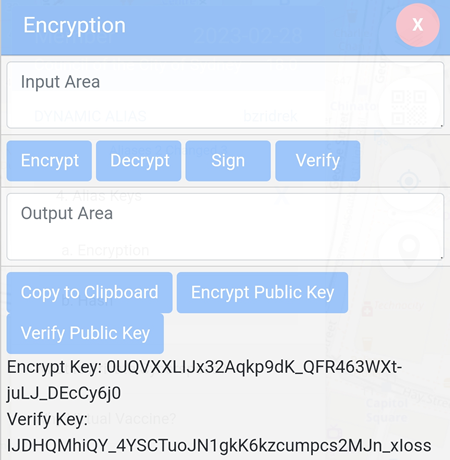
Encrypt
The Encrypt button is used to encrypt the data entered in the Input Area box. In order to send an encrypted data, the sender needs to:
- Get the Encrypt Key of the receiver and paste it by clicking on the Encrypt Public Key button.
- Type the message in the Input Area box and click on the Encrypt button.
- Copy the data shown in the Output Area and send it to the receiver.
Decrypt
The Decrypt button is to view the encrypted data received:
- Copy the data received and paste it in the Input Area box.
- Click on the Decrypt button
- The decrypted data is displayed in the Output Area box.
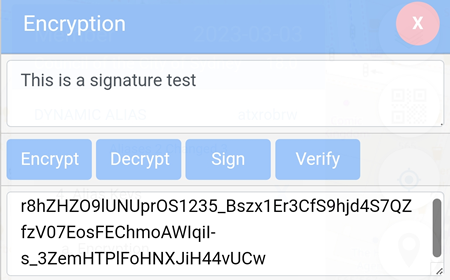
Sign
This utility is to create a signature within the 88.io domain. Type the characters in the Input Box, click on the Sign button and the signature will be displayed in the Output Box.
In the example below, the signature is
r8hZHZO9lUNUprOS1235_Bszx1Er3CfS9hjd4S7QZfzV07EosFEChmoAWIqiI-s_3ZemHTPlFoHNXJiH44vUCw
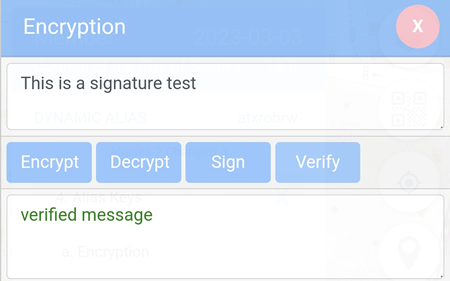
Verify
This utility is to check the signature created within the 88.io domain. Click on the Verify button, type or paste the signature in the pop-up window and click on the OK button.
In example below, the signature above which is r8hZHZO9lUNUprOS1235_Bszx1Er3CfS9hjd4S7QZfzV07EosFEChmoAWIqiI-s_3ZemHTPlFoHNXJiH44vUCw
is verified.
Copy to Clipboard
Copy the highlighted data from the Input Area or Output Area box to the clipboard.
Encrypt Public Key
The Encrypt Public Key button is for the sender to enter the public key of the receiver so the data sent to the receiver can be decrypted and viewed by the receiver.
Verify Public Key
The Verify Public Key contains the receiver's public key that can be shared to the sender which needs to be included by the sender before encrypting the message.
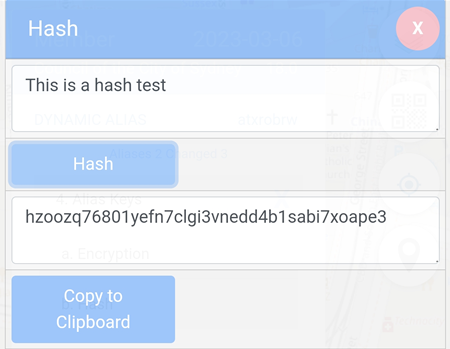
Hash
This utility is for transforming any given key or a string of characters into another value as in the example below.