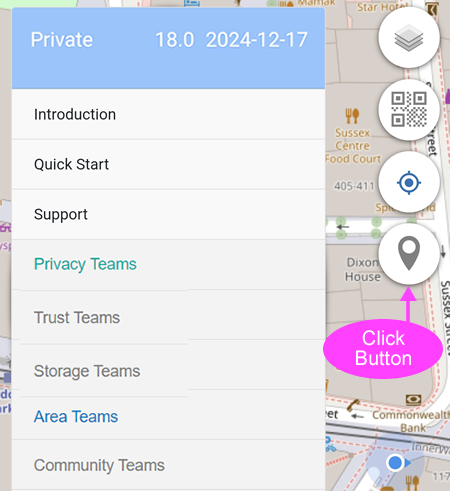
Photo
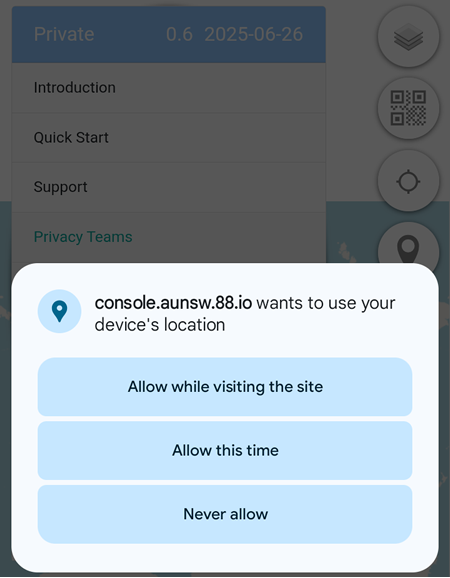
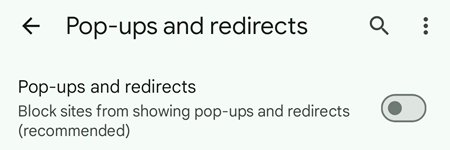
Allow the permission to access the location if prompted.
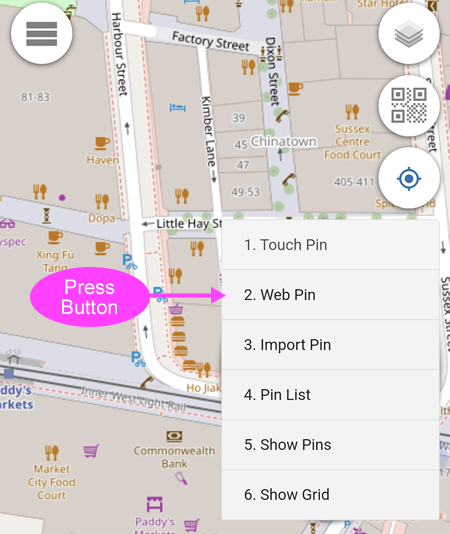
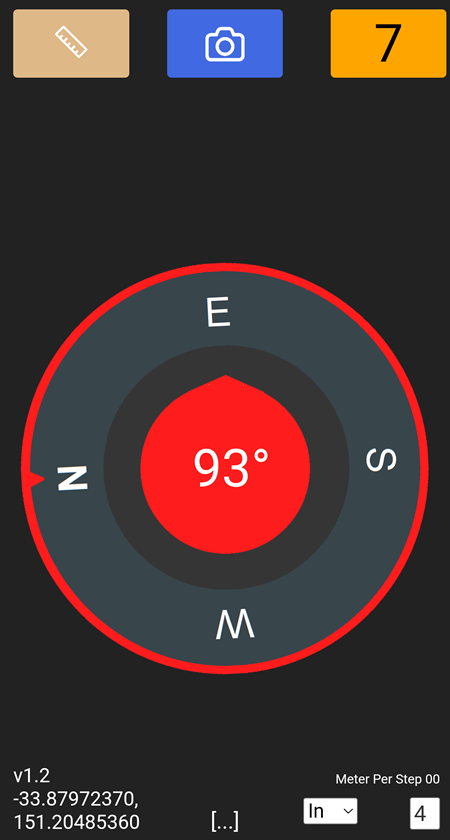
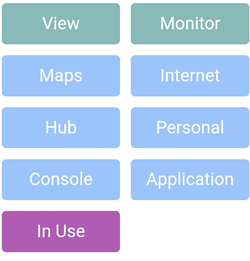
There are six available features on Photo:
-
 button for Pixel Measurement.
-
 button for Taking Photos.
-
 button Counting Steps
-
 displays the Angle Measurement and Compass.
-
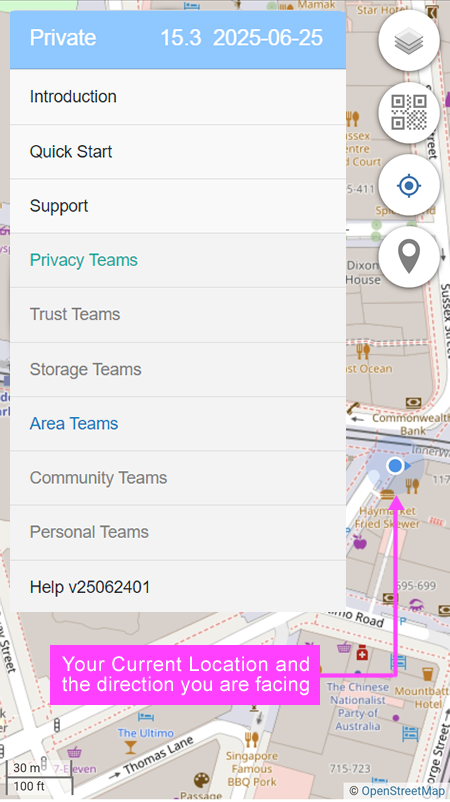
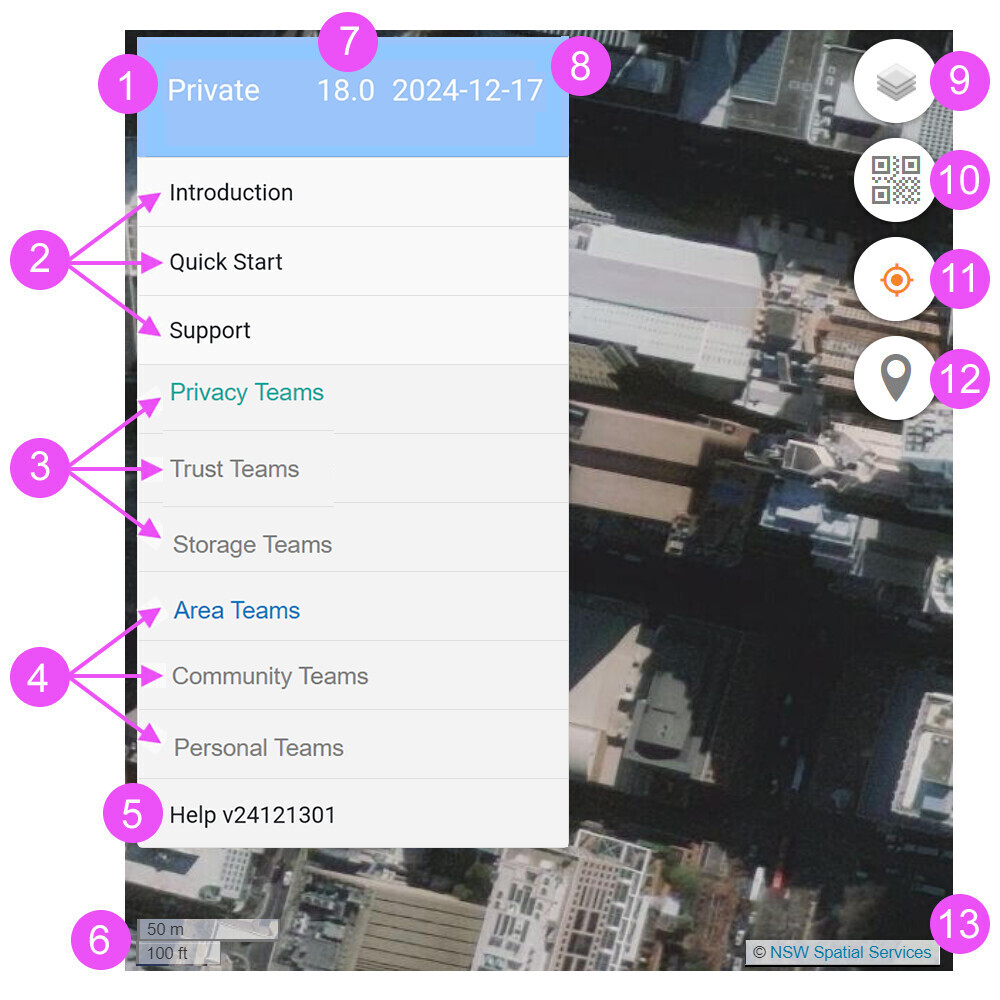
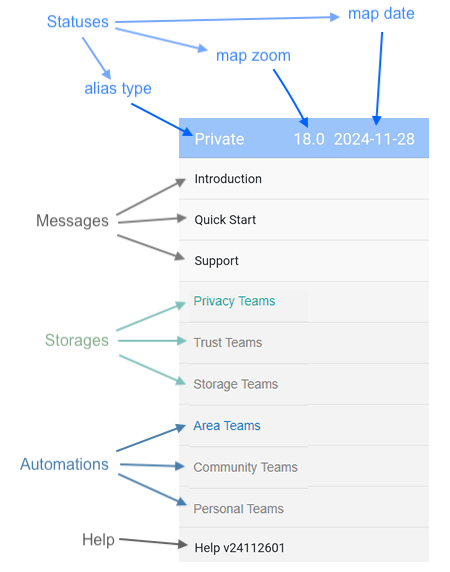
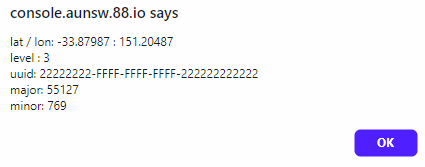
 displays the App Version and current Latitude and Longitude.
-
 and
and  . If IN is selected, it means you are away from the object and the photo taken will be TOWARDS the object. If OUT is selected, it means you are at the object and the photo taken will be OUT FROM the object. If the photo is sent to https://hub.quuvoo4ohcequuox.0.88.io/home and OUT is selected, the post will have a negative sign on the angle measurement, e.g:
 "degrees" : "-122"
-
[...] is the accuracy level (only applies to iOS)
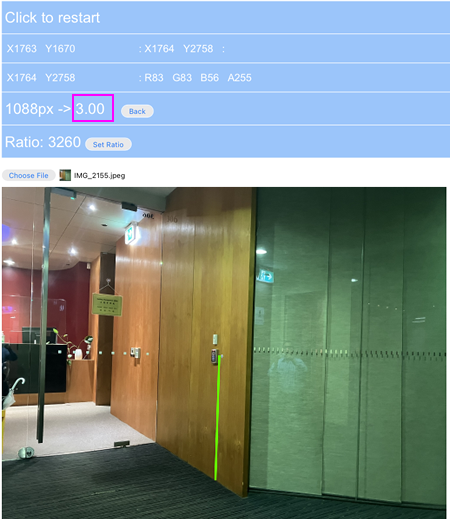
Pixel Measurement
The button allows users to upload a photo and measure the number of pixels between 2 points. From that pixel count you can estimate the distance between you and an object.
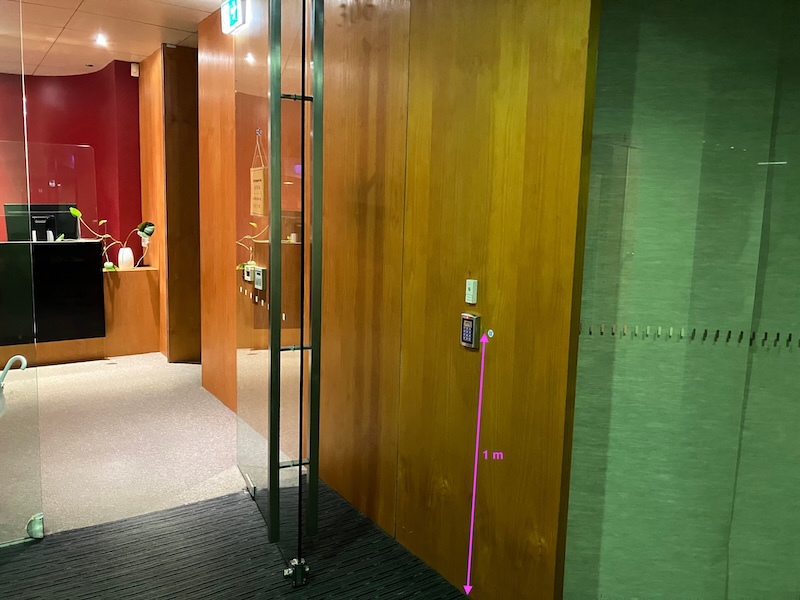
This feature is mostly used for measuring the distance between you and an Activity Marker, which is normally 1 meter high from the floor.
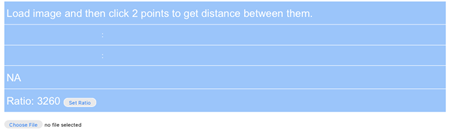
To FIRST STEP is to set the camera ratio (which is the most important):
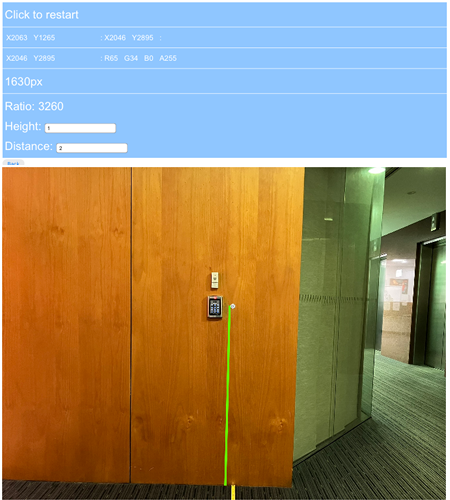
Select the Choose file button and browse to the image location or take a photo. To draw a line, select two different points and a green line will appear as shown in the image below.
1V2 means vertical reference of 2 metres high with 1x zoom level landscape.
V2L1 (landscape mode) = horizontal distance x vertical pixel / vertical height
Example: 2.0m x 1630px /1 = 3260.00
horizontal distance = camera reference x vertical height / vertical pixel
Example: 3260.00 x 1 / 1630px = 2.0m
vertical height = horizontal distance x vertical pixel / camera reference
Example: 2.0m x 1630x / 3260.00 = 1.0m
Setting the ratio is only required once by taking a photo which is 2m away from the object and the object needs to be 1m high and a line is then drawn between the object and the floor. In the example above, the object is a QR Code which is 1m away from the floor.
Once the line has been drawn, the ratio will be set.
Once the camera ratio has been set and saved, the photo uploaded or taken from then on will have the distance automatically detected.
In the example below, the distance detected is 3m.
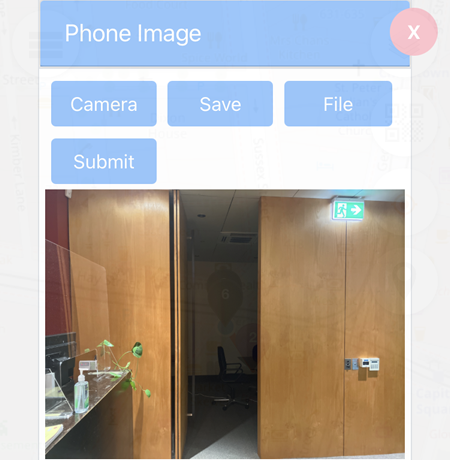
Taking Photos
This feature allows photos to be attached to the location pin.
Note: to get an accurate compass reading, do an 8 sign movement  and
and  two times and wait until the reading is stable before taking a photo.
In the example below, a photo of a door is taken.
Camera - open the phone's built-in camera app.
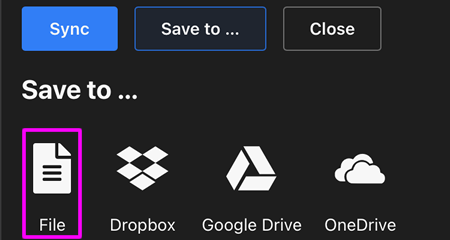
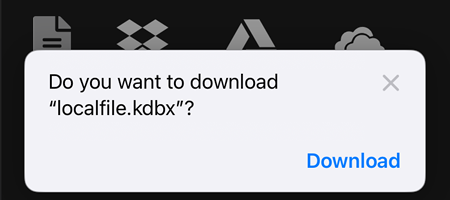
Save - download the photo taken from the phone's built-in camera app, e.g: the Photo folder.
File - browse to the location where the photo to be uploaded is stored, e.g: the Photo folder.
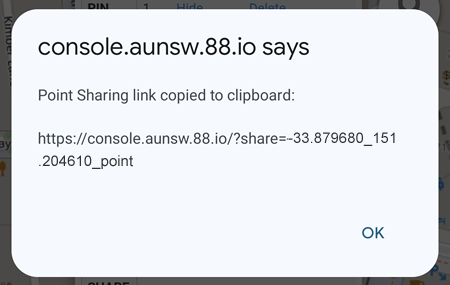
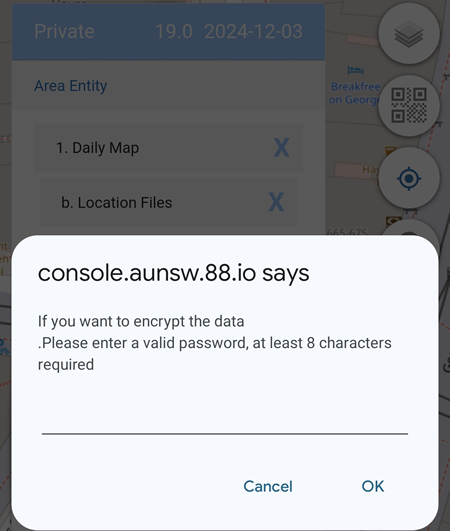
Submit - upload the photo to console.aunsw.88.io.
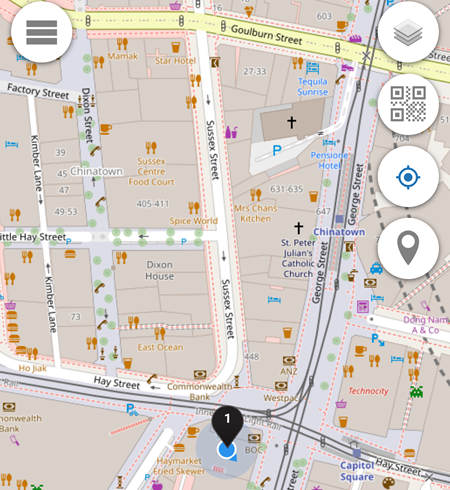
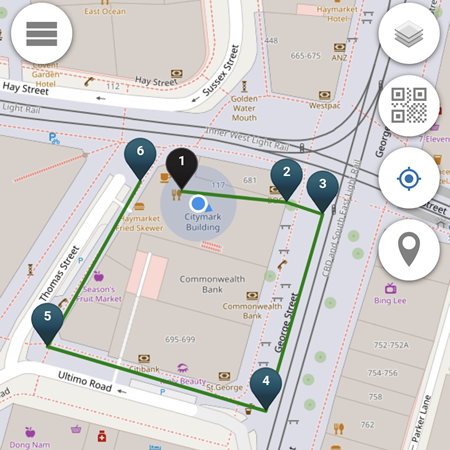
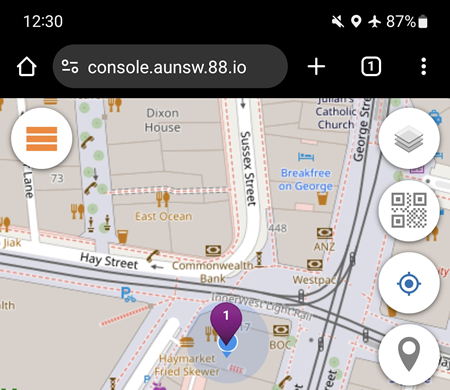
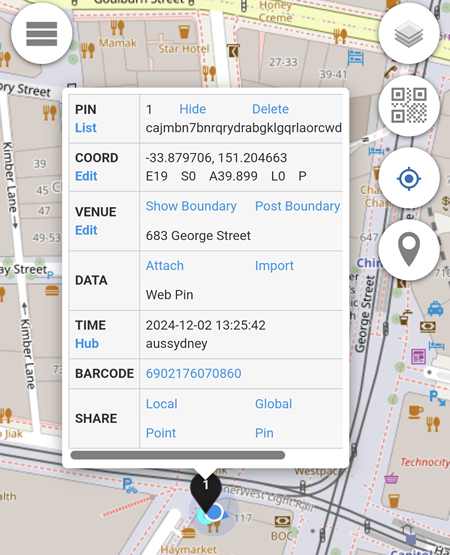
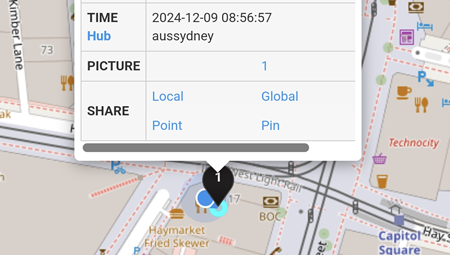
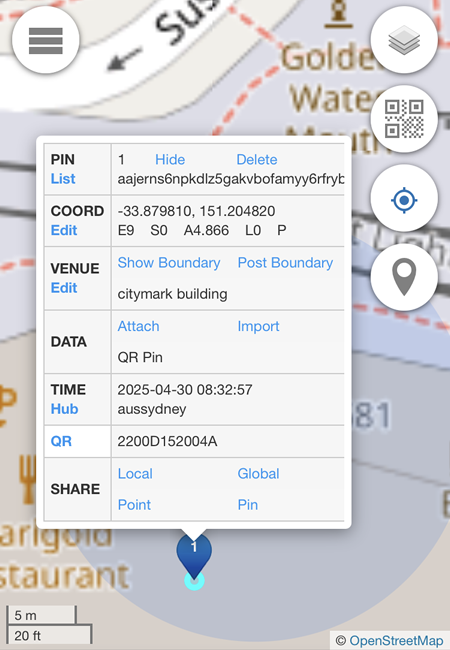
After clicking on the Submit button, a  pin will be added on the map.
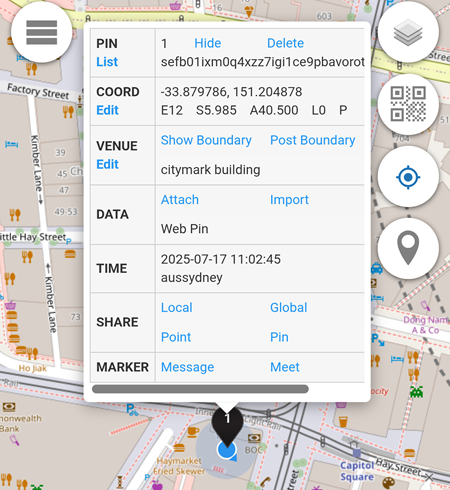
Clicking on the pin will display how many photos have been submitted.
In the example below, there is one photo submitted.
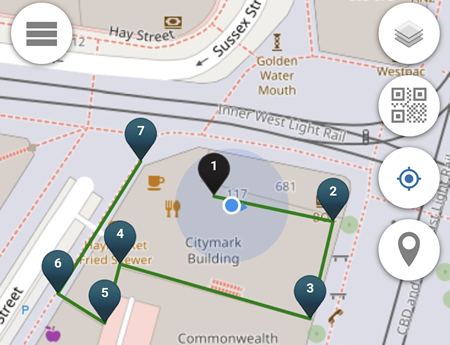
Counting Steps
After the green  button is pressed, it will change to orange and shows the number of steps detected. In the example below, the number of steps detected is 7.
On iOS, when the green button is clicked for the first time, if prompted select the photo.aunsw.88.io Would Like to Access Motion and Orientation Allow button.
By default, the value of 1 step is 4 metres which can be changed at the bottom right hand corner (currently not being used)
Compass
On Android, the compass automatically runs without pressing any button.
On iOS, to use the Compass click on the green button and if prompted select the photo.aunsw.88.io Would Like to Access Motion and Orientation Allow button.
If the Compass or any of the features do not work, click on the Allow Compass button at the bottom and Allow photo.aunsw.88.io Would Like to Access Motion and Orientation
Note: to get an accurate compass reading, do an 8 sign movement and two times.