Cup Compute

Cup Compute is the marketing name for our entry level compute station that:

  1. costs LESS than a cup of coffee
  2. customises in LESS time than making a cup of coffee.
  3. fits INSIDE a coffee cup

*based on price of a cup of coffee at AU$4 and making a cup of coffee takes 5 minutes.

1. Version

For the year 2025, Cup Compute is our Wireless Station 2025a (WS25a).

2. Purpose

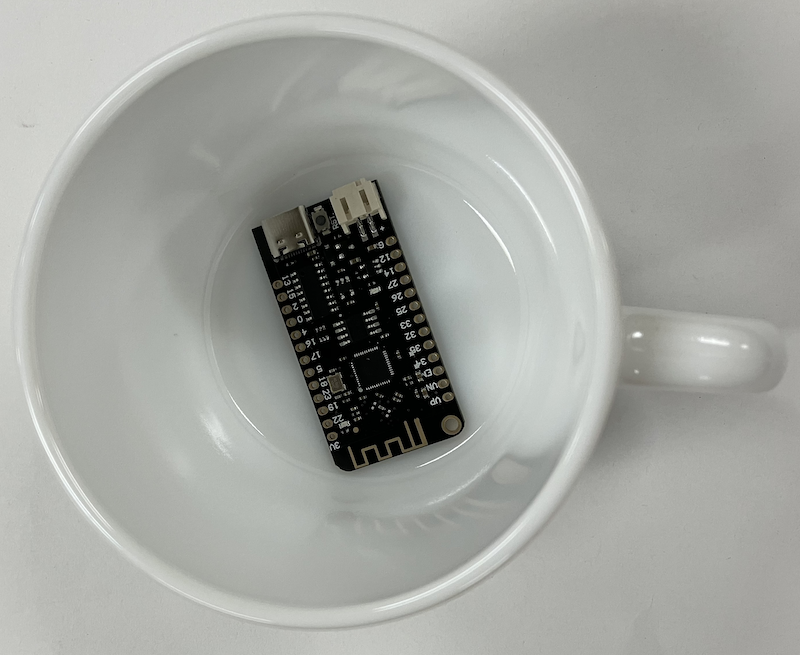
Cup Compute makes it affordable for everyone to start REAL ownership of infrastructure at home.

No more paying for home devices that are actually controlled by Cloud Compute remotely, with Cup Compute you can experience the advantages of having full control of the device you paid for.

Beside its cost and size, the most important feature of Cup Compute is how easy it is for everyday people to INDEPENDENTLY control 100% what it will or will not do.

Most Cloud Compute devices cannot be changed to function exactly as you like and probably will no longer work if the Cloud Compute is not available.

3. Advantages

  1. Cheap Postage
  2. Low Cost
  3. Small Size
  4. Low Power
  5. Battery Optionsl
  6. Build Clusters
  7. Free Samples (limited time)

Cheap Postage

Beside being cheap itself, the Cup Compute is also very cheap to ship, as it fits into a small letter envelope.

In Australia sending a small letter only costs AU$1.50 to anywhere in Australia.

Notes:

  • the AU$1.50 postage does not include the actual envelope which we assume you have a spare one lying around ...

  • 2 rows of pins are shipped but NOT soldered onto Cup Compute, they are not normally needed for most applications.

Low Cost

Cup Compute hardware is available at ultra low-cost e.g. from Aliexpress.

At 15 unit purchase volume (including tax and freight from China to Sydney):

Price check date Per unit price AU$ Price Change
2025-01-23 AU$3.51 0%
2025-06-17 AU$4.21 20%

As shown in above table there is a 20% increase in AU$ price within 6 months, but we still expect the fully delivered cost of Cup Compute to remain around the price of a cup of coffee in many countries.

Considering that Cup Compute can replace all contact tracing QR code and Bluetooth Apps used during pandemics, it is a worthwhile public health investment for all governments for a the price that substantially LESS than that of a single vaccine shot.

Small Size

Not only does Cup Compute fit inside a coffee cup, it even fits when the optional 2000 mAh rechargeable battery is plugged in.

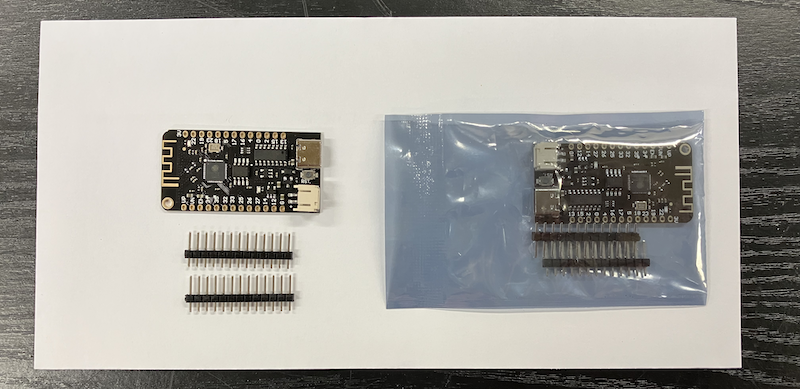
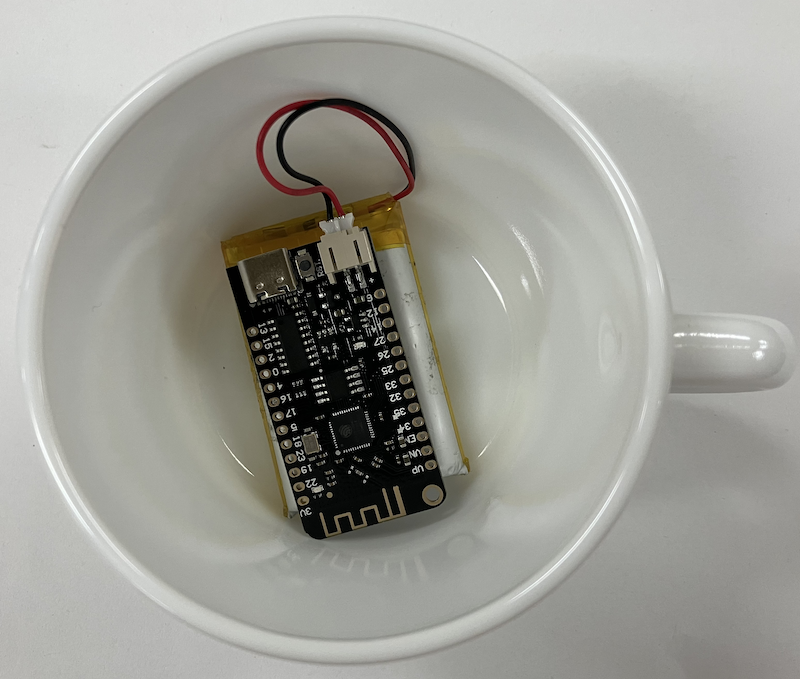
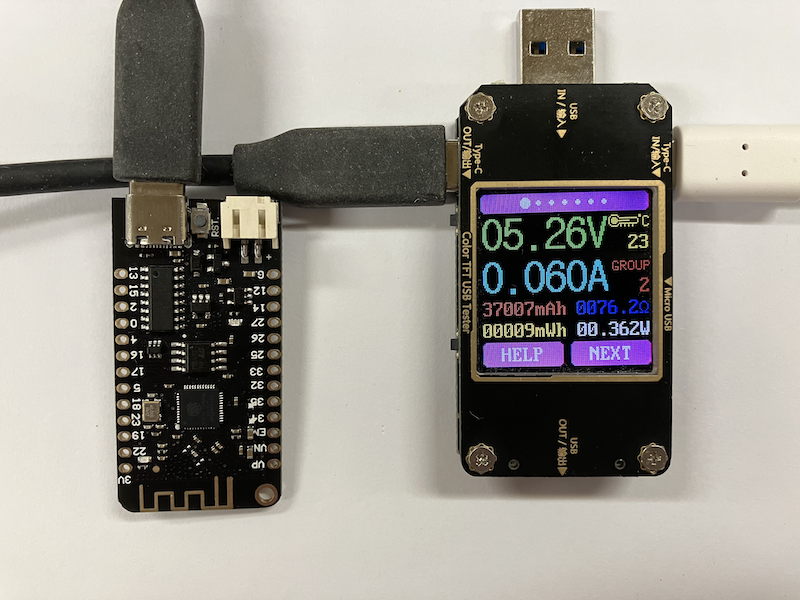
Cup Compute's onboard battery charger support larger batteries, but 2000mAh is more than enough power for 24 hours of continuous operation for use in mobile and solar-powered applications.

Low Power

Cup Compute is not only one of the cheapest compute station to buy, it is also very cheap to run even non-stop 24x7.

Even with BOTH activity marker transmission and reception functions actively running, its current consumption averages to only 60mA.

To reduce consumption further, it supports reducing of activity frequencies as well as turn on of deep sleep modes.

Battery Power

A range of rechargeable batteries are available to power your Cup Compute when there is no access to mains power.

JST-PH Connector

Polymer Lithium Ion

Nominal Voltage 3.7V
Charged Voltage 4.2V

Capacity Size Weight Charge Current Sample Price
2000mAh 50x34 34g 400mA $10.90
3000mAh 50x50mm 54g 600mA $11.90
4000mAh 90x60mm 72g 800mA $13.95
6000mAh 90x60mm 95g 1200mA $20.90
8000mAh 100x60mm 120g 1600mA $23.95

*Sample Prices in AUD as at 2025-03-05

To keep Cup Compute and the battery plugged in together:

  • 50 x 75 mm resealable plastic bag

Micro USB Connector

Power Banks

Mains Power

Some recommended mains power supplies for Cup Compute:

Ikea SMÅHAGEL

SMÅHAGEL 1-port USB 5V 1A charger is available at VERY low prices worldwide e.g. in Australia only $5 as of 2025-06-17:

Source: Ikea AU

This power supply has a very safe design at a very low price:

Reverse engineered schematic:

Source: Big Clive

USB Power

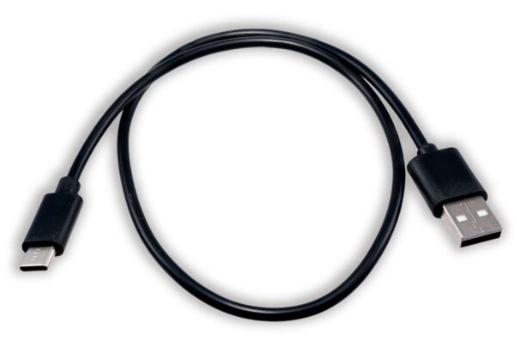
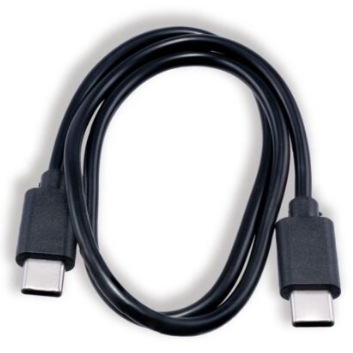
Most owners would already have USB-C power supplies laying around, in those cases there is NO NEED for USB-C power cables, since they can just plug the Cup Compute directing into existing USB-C power supply.

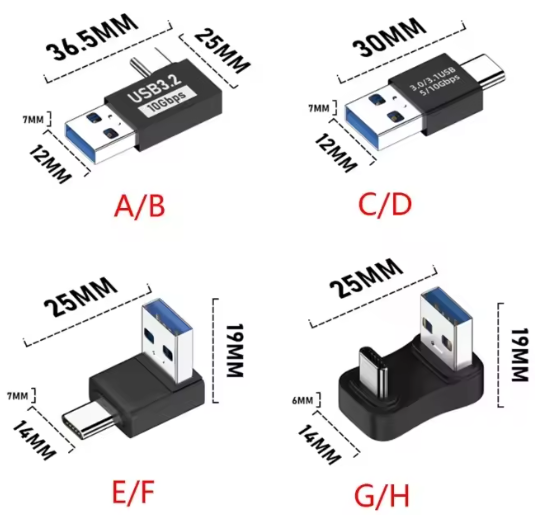
For owners do NOT have available USB-C power supplies, they can purchase low-cost USB-C cables or USB-C adapters.

USB-C to USB-A Adapter

Angled Adapters allow the Cup Compute to stand up vertically maximising its radio coverage.

  • Type B with 90 degrees angle suits some vertical USB-A connectors like the Ikea SMÅHAGEL 1-port power supply
  • Type E with 90 degrees angle suits most computers with horizontal USB-A connectors

Pick a Type that exposed the Cup Compute antenna the most in your environment.

USB-C to USB-A Cable

USB-C to USB-C Cable

Sample Accessories

There are other accessories we can also shipped with the free sample, however just like the 0.5m cable, these accessories are NOT free and any increase in shipping cost needs to be paid for:

  1. USB-C 5V 3A supply (Raspberry Pi Official Supply)
  2. 3.7V 2000mAh Li-Po battery with a JST PH 2.0 connector

Easy Ownership

You can take ownership of a Cup Compute in seconds by following a simple 2-step process:

  1. Connect to Cup Compute's WiFi
  2. Download Firmware using WiFi
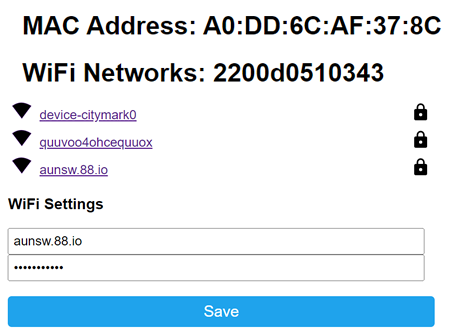
Connect WiFi

Now it is time to connect the esp32 to your local WiFi Access Point. Using your mobile or computer, search for 2200d0510343 SSID (the esp32 functions as an Access Point when it has not been configured to connect to a WiFi Access Point) and the password is the password used when generating the firmware.

NOTE: your device may have a different name. In this example, the device name is 2200d0510343.

Once connected, using a Chrome browser or an Edge browser, go to http://192.168.4.1 and select the WiFi Access Point SSID to be used by the esp32.

In the example below, the aunsw.88.io SSID is selected. Enter the password for the SSID and click on the Save button.

The esp32 should be online by using the selected WiFi Access Point, i.e: aunsw.88.io SSID after a few minutes.

To customise your Cup Compute, just plug it into the USB of your computer and install new firmware through a web browser in 3 steps.

  1. Generate Firmware
  2. Install Firmware
  3. Setup Firmware

You will need either Google Chrome or Microsoft Edge for Step 2.

Install Firmware

by going to a team compute site e.g.

https://flash.aunsw.88.io

You can also use open source esp32 firmware installers e.g.

Setup Firmware