Traccar App installation
Requirement: Community alias or higher.
Traccar App Setup Guide
- Using the Chrome browser, go to: https://88.io
- Navigate to: Community Teams → Agent Session → Session List
- Tick the following options:
- Hub for Area Teams
- Hub and Map for Community Entity
- Select Traccar. Clicking it will copy the Traccar Server URL to your clipboard. Example:
https://agent.quuvoo4ohcequuox.0.88.io/traccar.php/a6a782334bf9b069732ba6083b54224c/a6 - Open the Traccar app and if prompted, allow all permissions for accurate tracking.
- Enable Continuous Tracking.
- Tap Change Settings and configure the following:
- Device Identifier: Set to the last two characters of the Server URL (e.g.:
a6) - Server URL: Paste the URL copied from the clipboard
- Location Accuracy: Highest
- Distance: 50
- Interval: 1800
- Angle: 0
- Stationary Heartbeat: 0
- Turn on Advanced Settings and set: Fastest Interval: 30
- Enable the following options: Offline Buffering and Wake Lock.
- Disable: Stop Detection.
Important
In order for Traccar to work properly, the app needs to have the following permissions on the Android device:
- Location - Allow all the time
- Physical Activity - Allow
- App battery usage - Unrestricted (allow battery usage in background without restrictions)
Import to Map
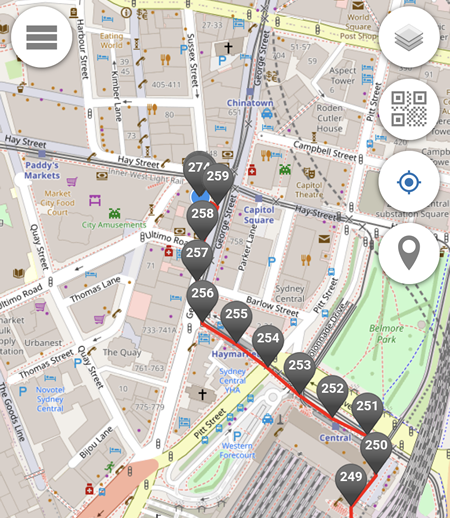
To import the pins and have them displayed on the map on https://88.io, select the ![]() button -> Import Pin -> Import Pins from Remote Server -> Select the date and set the Source to Traccar and tap on the Download button.
button -> Import Pin -> Import Pins from Remote Server -> Select the date and set the Source to Traccar and tap on the Download button.
If successful, grey pins will be displayed on the map.

