Voice Service
This is a web based phone application that allows users to make and receive voice calls as well as text messages across different platforms, such as:
Requirements
Home Assistant installations for
Home Assistant settings can be found at
Set Up
The web address is https://phone.quuvoo4ohcequuox.0.88.io and if this is your first time, you may get a prompt that the browser wants to use the camera and the microphone.
IMPORTANT: this permission must be allowed by selecting the Allow button.

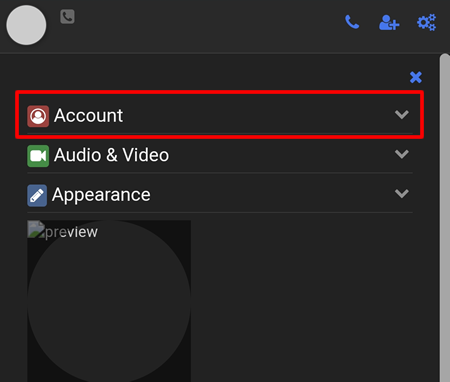
Then select the Account menu
Enter the following details:
- Full Name: your name, e.g: Robin Hood
- SIP Username, e.g: 123456 (available from the Exchange Service)
- SIP Password: e.g: 123456789012 (available from the Exchange Service)
- Extension Number: MUST be the same as the SIP Username, e.g: 123456
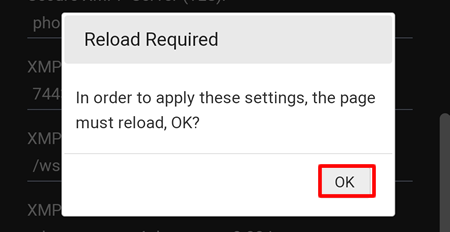
The rest of the fields can be left as default. Scroll down to the bottom of the page and click on the Save button. The Reload Required pop-up window will appear, simply click on the OK button to continue.
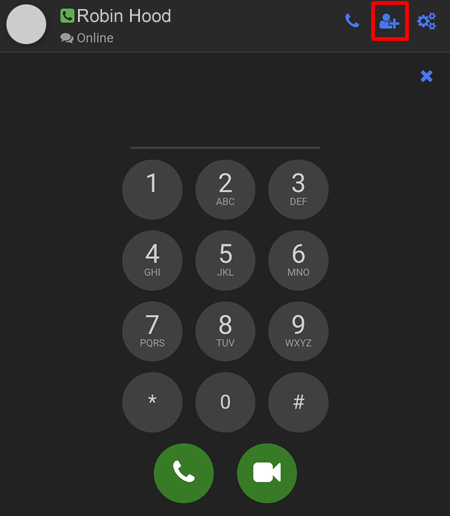
If the registration is successful, you should see the dial pad. This will allow you to make and receive voice calls.
To be able to send and receive text messages, please click on the Add User button to add the SIP Username of the user you want to send the text to. That user MUST also add your SIP Username on their device.
In the example below:
- Full Name: Iphone
- Extension including Message Exchange MUST be selected
- Extension Number: the SIP Username of the remote user
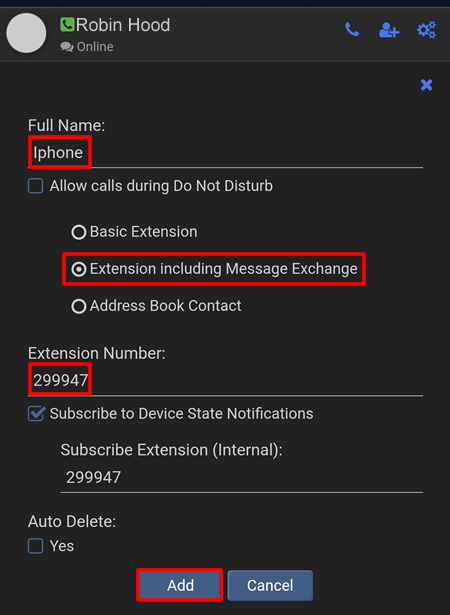
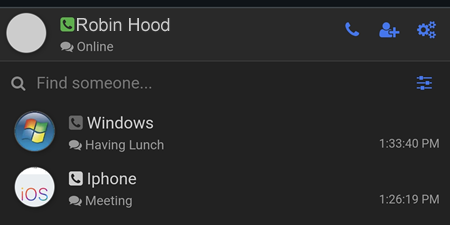
Once the Add button has been clicked, the iPhone user will be shown.
OPTIONAL
To show an avatar, add a contact number or an email address, click on the ![]() button and select Configure Extension -> Appearance.
button and select Configure Extension -> Appearance.
Upload an image, enter your details and click on the Save button.
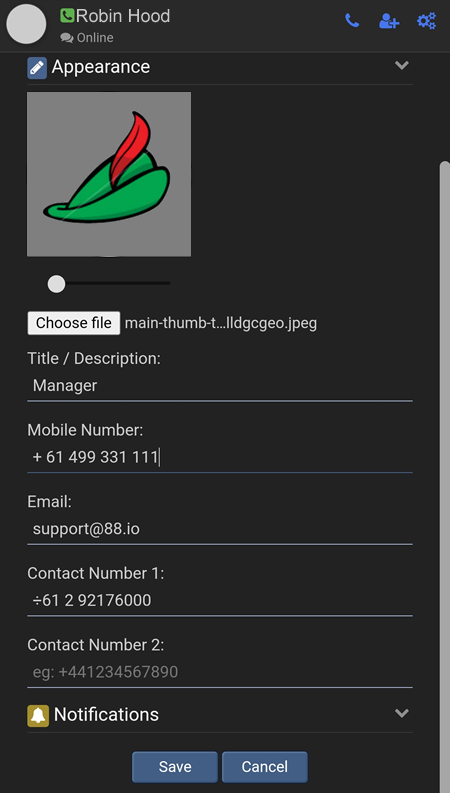
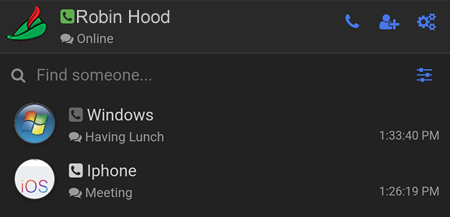
If successfully saved. your image will be visible by you and other users who add your SIP Username.
Voice Calls
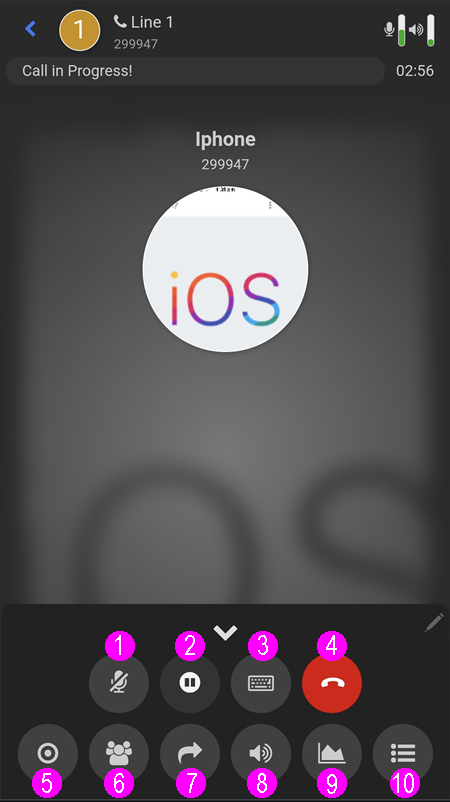
1 - Mute Microphone
2 - Call on Hold
3 - Send DTMF
4 - End Call
5 - Record Call
6 - Conference Call
7 - Call Forward
8 - Speakerphone/Headset selection
9 - Call Connection Statistics
10 - Call History
Standard Voice Calls
The Home Assistant app needs to be running (can be in the background).
To make a call, click on the ![]() button which will display the dial pad. Enter the SIP Username of the user you want to ring and press on the
button which will display the dial pad. Enter the SIP Username of the user you want to ring and press on the ![]() button.
button.
If there is a history of a voice call or a text message exchange, you can also click on the name of the user directly and click on the call button.
Caller
After dialling, there will be a Please hold, your call is being connected to most appropriate device voice prompt.
There is an option to leave a voice message to the callee without connected to the callee's device. To do this, while the call is being connected, select the ![]() button, press 1 and leave the message.
button, press 1 and leave the message.
If you do not have an internet access, you can still make a call by ringing +61 499 331 111 and follow the voice prompt. There are two options, to join a Meeting or dial a SIP number.
if the caller chooses to join a meeting by calling +61 499 331 111, then an existing meeting must already be available, and the caller will need to enter the meeting number to join.
Callee
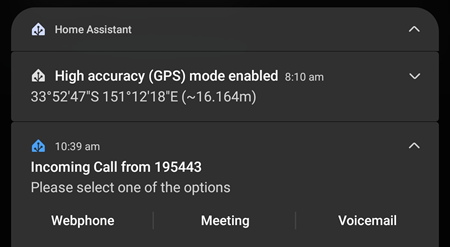
When there is an incoming call to the phone, there will be a normal incoming call to your device from one of our numbers, e.g: 0499 331 111. Once you answer this call, the call will automatically be disconnected.
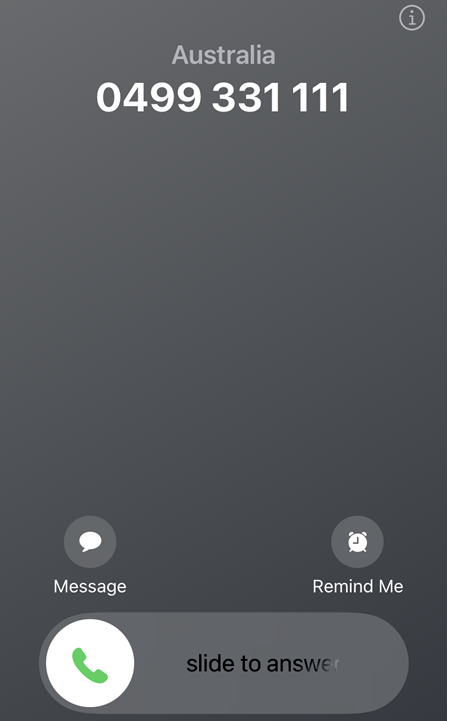
This call is just a notification to let you know that there is an incoming call to the phone. Simply open the notification and select the Home Assistant Incoming Call from notification.
On iOS, long press the notification to display the Webphone, Meeting and Voicemail.
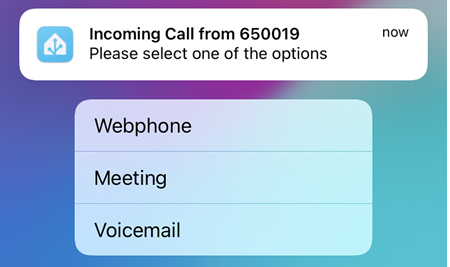
On Android, simply select the down arrow key to display the Webphone, Meeting and Voicemail.
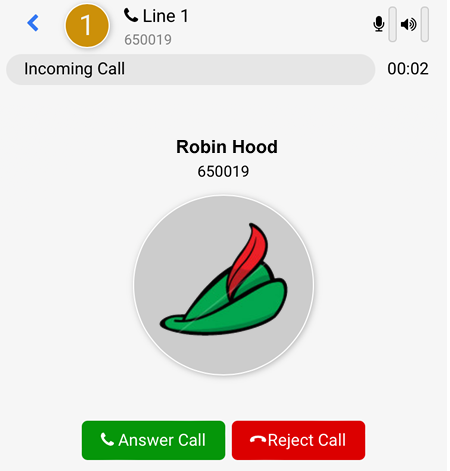
Webphone
If Webphone is selected, it will open the Incoming Call page which will enable you to accept the call. If you decide not to accept the call, simply select the Reject Call button which will prompt the caller to leave a voice message.
Meeting
If meeting is selected, the caller will be transferred to the Meeting page of the callee automatically.
Voicemail
If voicemail is selected, the caller will be prompted to leave a voice message which is emailed to user@quuvoo4ohcequuox.0.88.io.
The voice messages are also accessible by dialling *98 from the Webphone and enter the first 4 digits of the SIP password (available from the Exchange Service)
Call Transfer
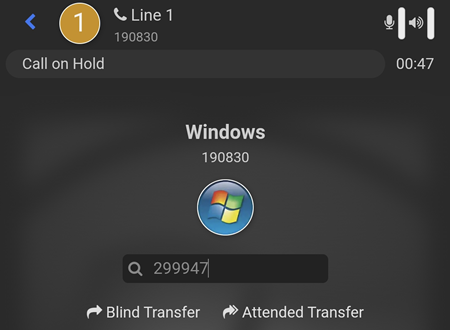
To transfer call, select the ![]() button (which will automatically put the current call on hold) and enter the number you want to transfer to.
button (which will automatically put the current call on hold) and enter the number you want to transfer to.
In the example below, the number entered is 299947 and you can either do a Blind Transfer or an Attended Transfer.
Blind Transfer
A Blind Transfer will forward the current call without having to wait for the receiving party to answer. In the example above, if the Blind Transfer is selected, number 190830 will be connected to 299947 regardless whether 299947 answers the call or not.
Attended Transfer
An Attended Transfer requires the forwarded call to be answered by the receiving party first. Once the call is answered, the person who initiates the call transfer can then connect number 190830 to number 299947 or cancel the transfer.
Conference Call
To initiate a Conference Call, select the ![]() button (which will automatically put the current call on hold) and enter the number you want to invite to join the conference call and press the Call button.
button (which will automatically put the current call on hold) and enter the number you want to invite to join the conference call and press the Call button.
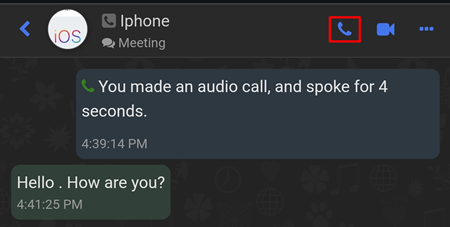
Text Messages
IMPORTANT:
To be able to send or receive messages. each user must be added in each other's device by selecting the Extension including Message Exchange.
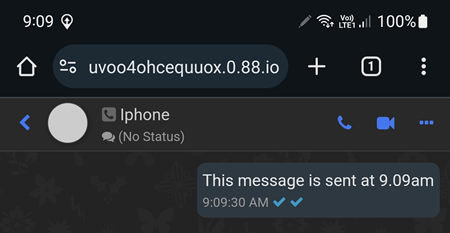
The two ticks indicates that the message has been successfully delivered to a user called iPhone.