Nextcloud Contacts Synchronisation
Note: the server address below is for Community alias users only. For Personal alias users, the server address is https://data-bohcif8iew8e.jeiheaxi2iu4phea.1.88.io
- Open the Settings application.
- Select Contacts.
- Select Accounts.
- Select Add Account.
- Select Other as account type.
- Select Add CardDAV account.
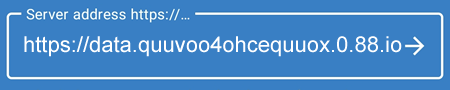
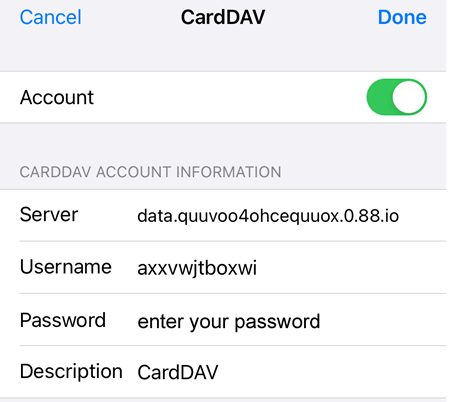
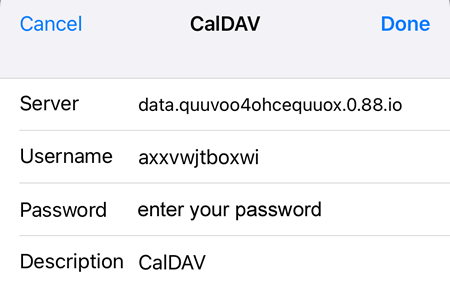
- Enter the details and select the
 button. In the example below, the username is
 axxvwjtboxwi
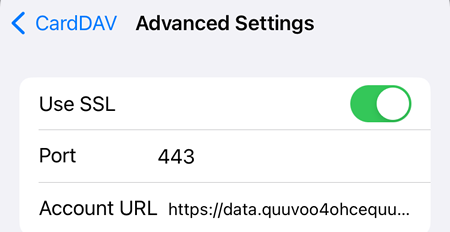
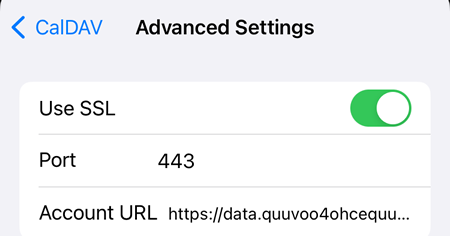
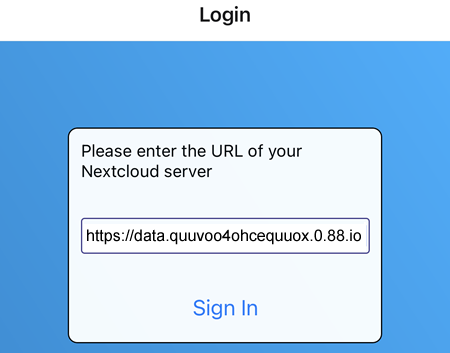
- If there is an SSL error, select Cancel and the Advanced Settings menu will be displayed. Click on it and in the Account URL field put https://data.quuvoo4ohcequuox.0.88.io
- Go back to CardDAV and click on the Save / Done button.
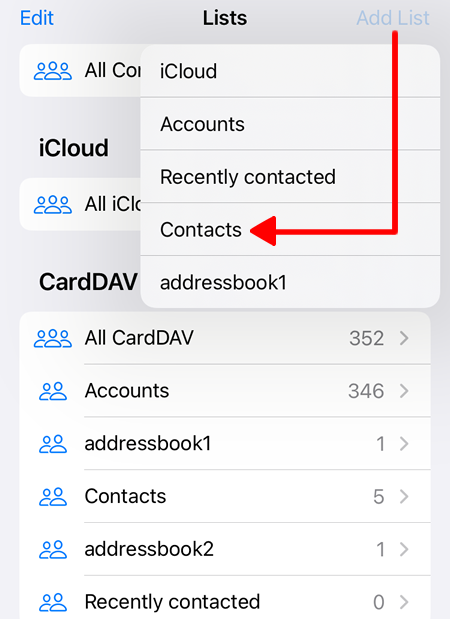
Address Book
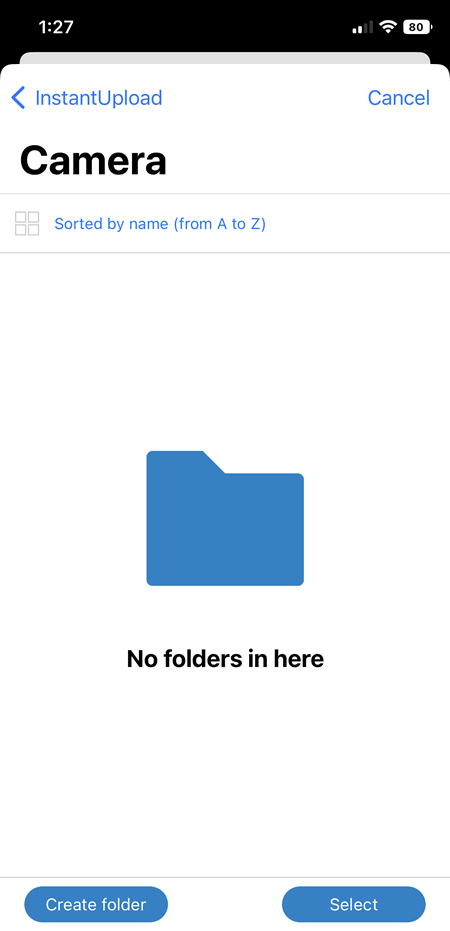
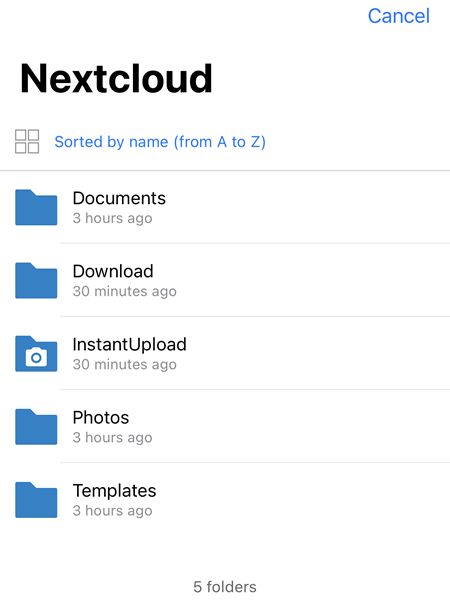
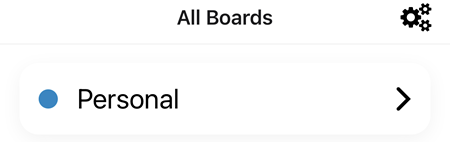
All the address books can be viewed on Contacts -> Lists. By default, two address books are created automatically:
- Accounts, which lists all the session IDs created for all users. These are READ ONLY, so any session ID/contact deleted from this address book, it will re-appear.
- Contacts, which allow users to add, edit and delete their contacts and can be synced to other devices.
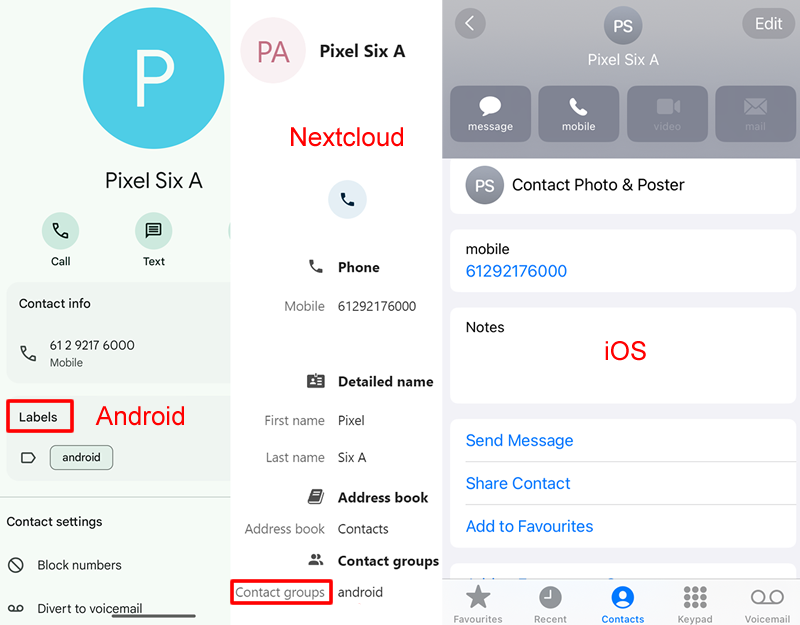
On iOS devices, some of the names used are different to devices on Android and Nextcloud
| android |
ios |
nextcloud |
| first name |
first name |
name |
| surname |
last name |
name |
| title |
job title |
title |
| email |
email |
email |
| company |
company |
company |
| website |
url |
website |
| labels |
|
contact groups |
Manually added address books from an Android device will also appear here. In the example below addressbook1 is created by DAVx app on an Android device.
However, the addressbook1 can not be edited or deleted on iOS, only the contacts inside addressbook1 can be edited or deleted.
Unlike DAVx app on Android, it is not possible to add an address book on CardDAV on iOS and be recognised as an address book on Android. Only the Contacts menu allows a new list to be added. In the example below, the list name addressbook2 and the contact inside it are recognised as two different contacts (not an address book) on Android. On IOS, the contact inside addressbook2 appears in two different address books, in Contacts and addressbook2.
On Android, the addressbook2 is recognised as Surname of a contact with no other detail. If a phone number is added, it can only be seen on Nextcloud, but not on iOS since addressbook2 is an address book on iOS.
Because addressbook2 is recognised as a contact on Android, when it is deleted on Android, the addressbook2 on iOS is also deleted, however the contacts inside addressbook2 will remain in the Contacts address book.
Shared Address Books
Shared Address Books can only be configured from Nextcloud, however once configured, they are also available on Android and iOS devices and the contacts inside the shared address books can be edited and deleted, if the Read/Write permission is granted.
Category Field
In the test below, the category used is the same, however the category name is different on different devices:
- Labels on Android
- Contact groups on Nextcloud
- Not supported on iOS
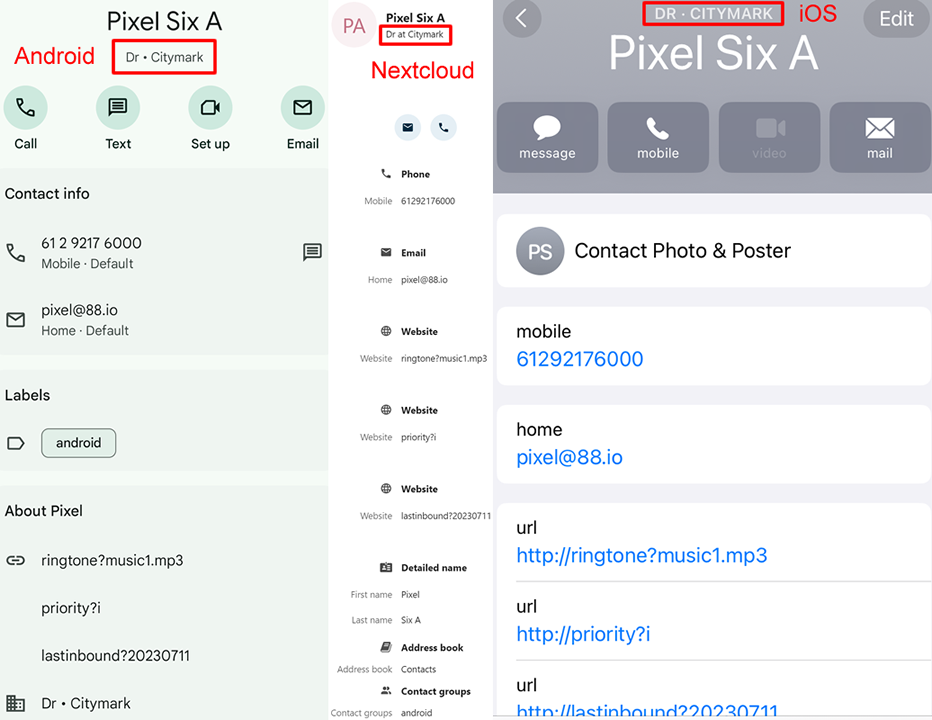
Title and Organisation Fields
In the test below:
Title: Dr
Company: Citymark
Dr (with capital D) appears exactly on Android and Nextcloud. However, on iOS, each letter is capitalised so it is DR
Citymark (with capital C) appears exactly on Android and Nextcloud. However, on iOS, each letter is capitalised so it is CITYMARK