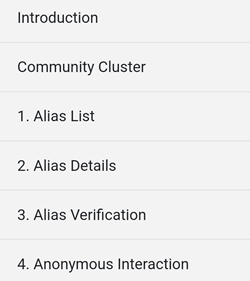
Dynamic Alias Menu
Community Cluster
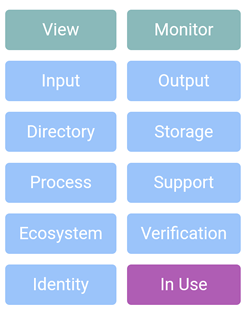
Three sets of clusters are available and they all have identical submenus. Cluster Set defines the Cluster used and by default, Cluster A is the active cluster in use.
Tree Listing
DYNAMIC ALIAS is divided into 4 categories:
1. Alias List
A fundamental feature of Private Cyberspace is the protection of your privacy by enabling you to create different Aliases for yourself for different situations.
There are 3 alias types available:
- Private Alias - use to collect data only (no sending out).
- Guest Alias - use to send fuzzy data anonymously.
- Member Alias - use to send fuzzy under progressive identity protection.
Private Alias
It comes by default with a Private Alias which you can use to collect your first data PRIVATELY.
Guest Alias
To upgrade to Guest Alias, click on DYNAMIC ALIAS -> Alias List-> Create Alias and follow the prompt. During this process, a Wallet is also created and there are 5 different types of Wallet, the more keys the more secure.
If any of the 3 keys is selected, the wallet will be created automatically.
If 4 keys is selected, one External Key Setting is required.
If 5 keys is selected. two External Key Settings are required.
Please WAIT until the Wallet creation completed message is displayed as this process will take a few minutes.

If the alias is downloaded, it can be re-used by importing the alias back.
Member Alias
To upgrade to Member Alias, click on DYNAMIC ALIAS -> Alias Verification -> Identity Verification -> Phone Number - Call In -> Enter the mobile number -> ring 138813 within a minute using the mobile number entered and a phone number verified voice prompt will be played if successful.
If the alias is downloaded and saved, it can be re-used by importing the alias back.
2. Alias Details
This is the place to enter your personal details, such as Display Name, Phone Number, Email address etc.
There are also 3 other buttons:
- Manage Label
- Hub info
- Alias Keys
All aliases come with at least 4 keys:
- Public encryption key
- Private encryption key
- Public signing key
- Private signing key
Public Key Pairs
By default the Public Key Pairs are NaCl based:
Public Key Demo
Secret Keys
By default the Secret Keys are NaCl based:
Secret Key Demo
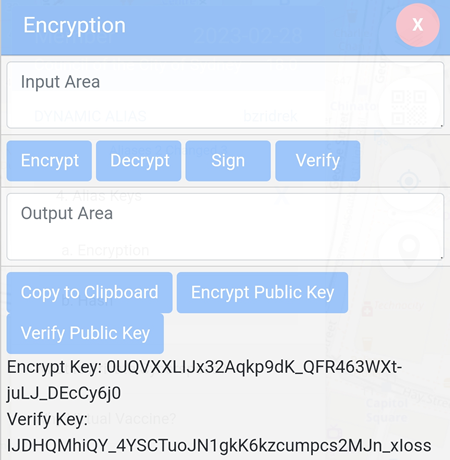
Encryption
Encrypt
The Encrypt button is used to encrypt the data entered in the Input Area box. In order to send an encrypted data, the sender needs to:
- Get the Encrypt Key of the receiver and paste it by clicking on the Encrypt Public Key button.
- Type the message in the Input Area box and click on the Encrypt button.
- Copy the data shown in the Output Area and send it to the receiver.
Decrypt
The Decrypt button is to view the encrypted data received:
- Copy the data received and paste it in the Input Area box.
- Click on the Decrypt button
- The decrypted data is displayed in the Output Area box.
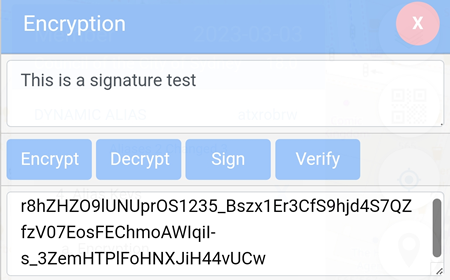
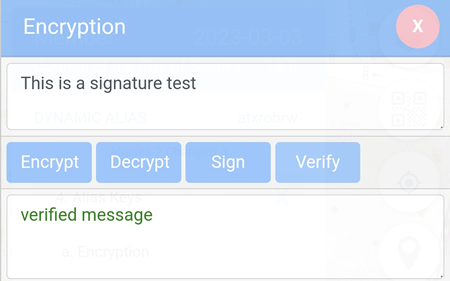
Sign
This utility is to create a signature within the contacttrace.com.au domain. Type the characters in the Input Box, click on the Sign button and the signature will be displayed in the Output Box.
In the example below, the signature is
r8hZHZO9lUNUprOS1235_Bszx1Er3CfS9hjd4S7QZfzV07EosFEChmoAWIqiI-s_3ZemHTPlFoHNXJiH44vUCw
Verify
This utility is to check the signature created within the contacttrace.com.au domain. Click on the Verify button, type or paste the signature in the pop-up window and click on the OK button.
In example below, the signature above which is r8hZHZO9lUNUprOS1235_Bszx1Er3CfS9hjd4S7QZfzV07EosFEChmoAWIqiI-s_3ZemHTPlFoHNXJiH44vUCw
is verified.
Copy to Clipboard
Copy the highlighted data from the Input Area or Output Area box to the clipboard.
Encrypt Public Key
The Encrypt Public Key button is for the sender to enter the public key of the receiver so the data sent to the receiver can be decrypted and viewed by the receiver.
Verify Public Key
The Verify Public Key contains the receiver's public key that can be shared to the sender which needs to be included by the sender before encrypting the message.
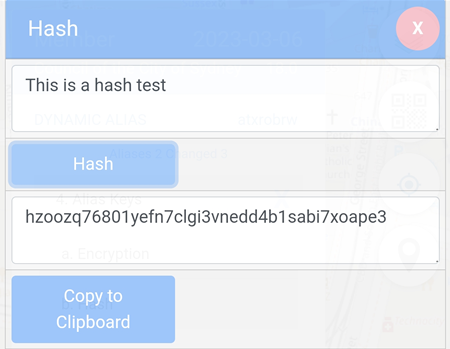
Hash
This utility is for transforming any given key or a string of characters into another value as in the example below.
3. Alias Verification
3.1 Identity Verification
Some transactions cannot be performed if you remain anonymous by using Guest Aliases.
By performing Identity Verifications, you can attach verified identities to some of your Guest Aliases and turn them into Member Aliases.
Currently 8 levels of verifications are supported for Member Aliases in the Australian Ecosystem :
- Phone Number - Call In
- Primary ISP - Browser Agent
- Email address - Mail Out
- Charge Card - Credit Card
- Identity Card - AU Medicare Card
- Photo Card - AU Driver Licence
- National Passport - AU Password
| level | type | prefix | description |
|---|---|---|---|
| aupass_ | Australian Passport | ||
| aumedi_ | Australia Medicare Card | ||
| aupass_ | Australian Passport | ||
| auactdrv | Australia ACT Driver License Number | ||
| aunswdrv | Australia NSW Driver License Number | ||
| auntdrv | Australia NT Driver License Number | ||
| auqlddrv | Australia QLD Driver License Number | ||
| ausadrv | Australia SA Driver License Number | ||
| autasdrv | Australia TAS Driver License Number | ||
| auvicdrv | Australia VIC Driver License Number | ||
| auwadrv | Australia WA Driver License Number |
| level | type | prefix | description |
|---|---|---|---|
| 0 | Primary ISP - Web Browser | auisp_ | Australian ISP |
| 1 | Phone Number - Call In | auphone_ | Australian Phone |
You can use Member Aliases at different levels in different situations. Some applications (e.g. withdraw money from a bank) have Member Alias level restrictions - so you cannot use those applications if you are at a lower level.
If you are not an Australian resident or citizen, you most likely can only go up to level 4.
3.1.1 Phone Number - Call In
Before the other types of identity can be verified, It must always start with the first one which is the phone number. Once the phone number has been verified the verification date will be shown and the alias will change to Member alias.
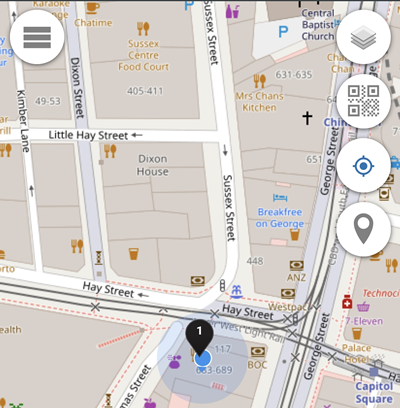
If successful, a Verification Token will be displayed and a ![]() pin will be added and shown on the map.
pin will be added and shown on the map.
Note: in order to save the new Member alias to a local disk (mobile phone storage location), to a remote server or to both, please enter the Member alias password and follow the prompt.
3.1.2 Primary ISP - Browser Agent
To verify your web browser, simply click on the Verify button and if successful, the Verification Token will be displayed and a ![]() pin will be added and displayed on the map.
pin will be added and displayed on the map.
3.1.3 Email address - Mail Out
Enter your email address and click on the Get Code button. Please check your email to get the 6 digit code and enter it to verify your email address. If successful, the Verification Token will be displayed and a ![]() pin will be added and displayed on the map.
pin will be added and displayed on the map.
3.1.4 Charge Card - Credit Card
Enter your credit card details and a small amount will be charged. Please check your credit card statement and enter the amount charged (less than $1.00) to verify your credit card.
If successful, a Verification Token will be displayed and a ![]() pin will be added and displayed on the map.
pin will be added and displayed on the map.
3.1.5 Identity Card - AU Medicare Card
Enter your Medicare card details and click on the Submit button. The details submitted will be checked using the Document Verification Service (DVS) and if the details are entered correctly, the Medicare card will be verified.
If successful, a Verification Token will be displayed and a ![]() pin will be added and displayed on the map.
pin will be added and displayed on the map.
Note: credit card must first be verified.
3.1.6 Photo Card - AU Driver Licence
Enter your Driver Licence details and click on the Submit button. The details submitted will be checked using the Document Verification Service (DVS) and if the details are entered correctly, the Driver Licence will be verified.
If successful, a Verification Token will be displayed and a ![]() pin will be added and displayed on the map.
pin will be added and displayed on the map.
Note: credit card must first be verified.
3.1.7 National Passport - AU Passport
Enter your Passport details and click on the Submit button. The details submitted will be checked using the Document Verification Service (DVS) and if the details are entered correctly, the Passport will be verified.
If successful, a Verification Token will be displayed and a ![]() pin will be added and displayed on the map.
pin will be added and displayed on the map.
Note: credit card must first be verified.
3.2 Location Verification
3.2.1 Night Block
If successfully submitted, the Local Block Latitude and Longitude details will be displayed and a ![]() pin will be added and shown on the map.
pin will be added and shown on the map.
3.2.2 Day Block
If successfully submitted, the Global Block Latitude and Longitude details will be displayed and a ![]() pin will be added and shown on the map.
pin will be added and shown on the map.
3.2.3 Local ISP - Browser Fingerprint
If successful, a Verification Token will be displayed and a ![]() pin will be added and shown on the map.
pin will be added and shown on the map.
3.2.4 Residential Verification
Please visit https://discuss.88.io/t/residential-image-marker/1472
3.2.5 Commercial Verification
Please visit https://discuss.88.io/t/commercial-image-marker/1473
3.3 Check Verification
These are the verification types that can be checked:
- Phone
- Basic Location
- Browser
- Credit Card
- Day Block
- Driver Licence
- Last ISP
- Medicare
- Night Block
- Passport
- Primary ISP
- Residence
- Venue
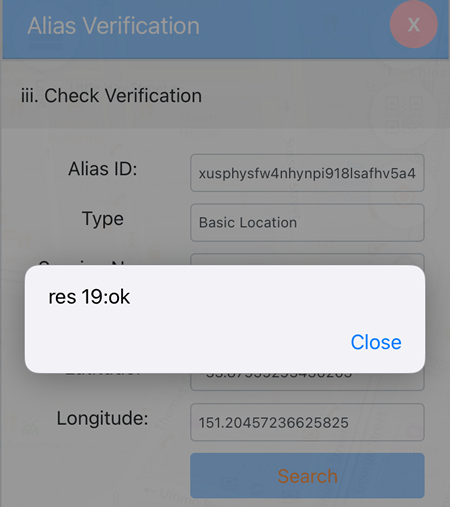
In the example below, the Basic Location is compared to the data on the blockchain.
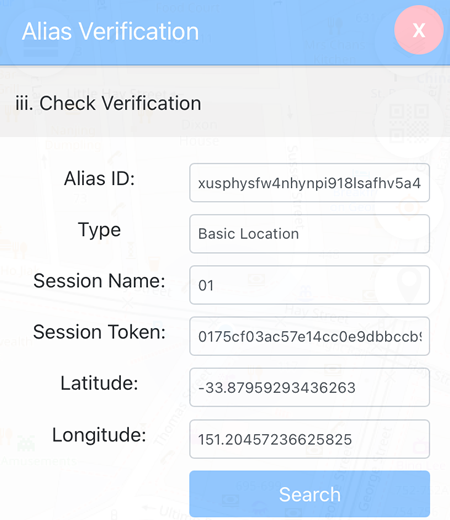
By clicking on the Search button, the result will be shown
3.4 Show Verification
Select this to view the verification details which have been submitted to https://hub.contacttrace.com.au/@identity
3.5 Verification Log
It shows the verification history such as the date, the time and the verification type.
4.Anonymous Interaction
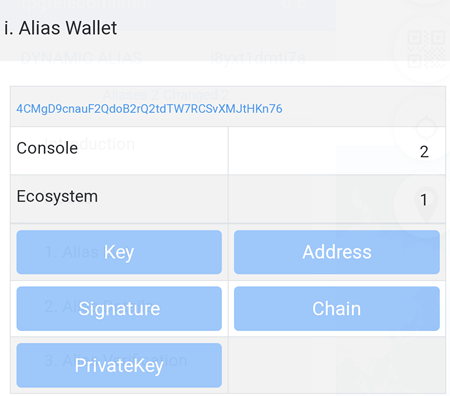
4.1 Alias Wallet
Console indicates the number of blocks (not status) which have been submitted.
Ecosystem indicates the number of coins earned. However, if there is one or more submitted pins in the same block and within the same 30 minute block as the the other pins, only the Console will reflect the number of submitted blocks and the Ecosystem will remain unchanged.
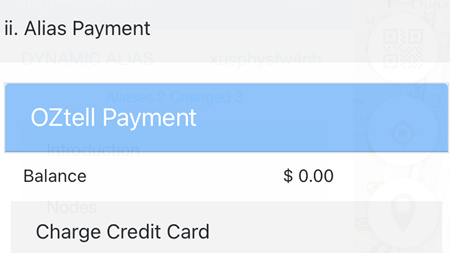
4.2 Alias Payment
A verified credit card is required before a payment can be made.
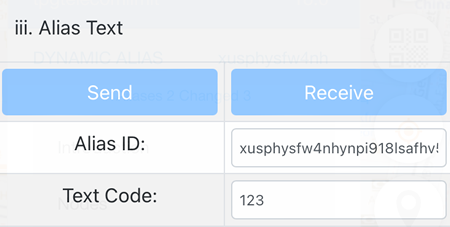
4.3 Alias Text
Alias Text allows users to send and receive messages to and from other users by using their Alias ID and the correct Text Code.
4.4 Alias Notification
A verified mobile number is required before a ringtone notification can be created.
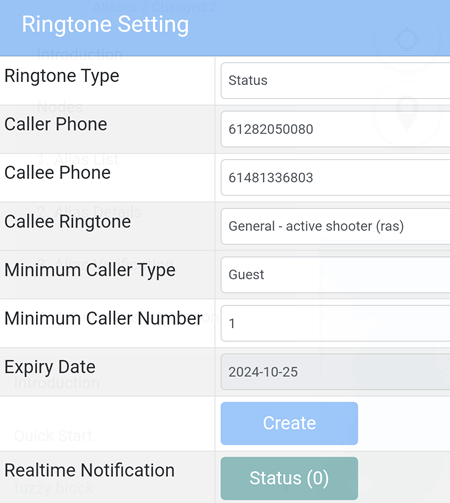
When a ringtone is created, it will allow the receiver to be notified for an event by receiving a call from a particular phone number that has been chosen. In the example below, when a user submits a status of an Active Shooter in the area, the mobile number 61481336803 will receive a ringtone.

4.4.1 Enable the notification
On the main page, tap on the ![]() button and select one of the pins. In the example below, the location where the Web Pin is shown will be used.
button and select one of the pins. In the example below, the location where the Web Pin is shown will be used.
Tap on the Block Notification button, select the active shooter (ras) status and Submit.
4.5 Alias Phone
There are three Alias Phone features:
- Guest (for users with a Guest Alias or a Member Alias)
- Private (for users with a Member Alias)
- Public (for users with a Member Alias)
Guest Alias User
If the Destination Number entered is the mobile number used by the device, when there is an incoming Alias Phone call, the system will send two notifications to the device every time there is an incoming Alias Phone call:
- The first notification comes from Caller ID +61499331111 which rings to the mobile number of the device. This is just to alert the user that there is an incoming Alias Phone call.
- The second notification comes from the Home Assistant app where the user can select how to answer the incoming Alias Phone call.
To make calls to an Alias Phone, the caller needs to ring +61499331111, press 2 to dial a number and enter the 6 digit Alias Phone number.
Member Alias User
Users with a Member alias has the additional features of Private and Public where the user can subscribe to a Landline DID and/or a Mobile DID so callers can use these numbers to ring the Alias
Phone.
Example: if the Landline DID subscribed is 61733011843 then others simply ring this number instead of the shared +61499331111 number.
The monthly fee for the DID subscribed is debited from the account balance which can be topped up with a minimum of $10.
Users with a Member alias can also dial external numbers as long as there is sufficient phone account balance.
Details on setting up Alias Phone is available here.